Ok so all my old photo sharing sites where for my 501st stuff so took me a while to create another on for this but here is some pics of my pack to this point. I know yall have seen tons of build threads and all the pictures are similar but it will make it easier for my to remember in my old age....
Thanks to Tobycj for the info thus far and cant tell you how much I have relied on Canpara's semi-hero thread for information and hints on my build thus far.
I ordered my BOK a good bit ago and continued to communicate with Ben on almost a weekly basis until the day finally came and i got oneee!!!!

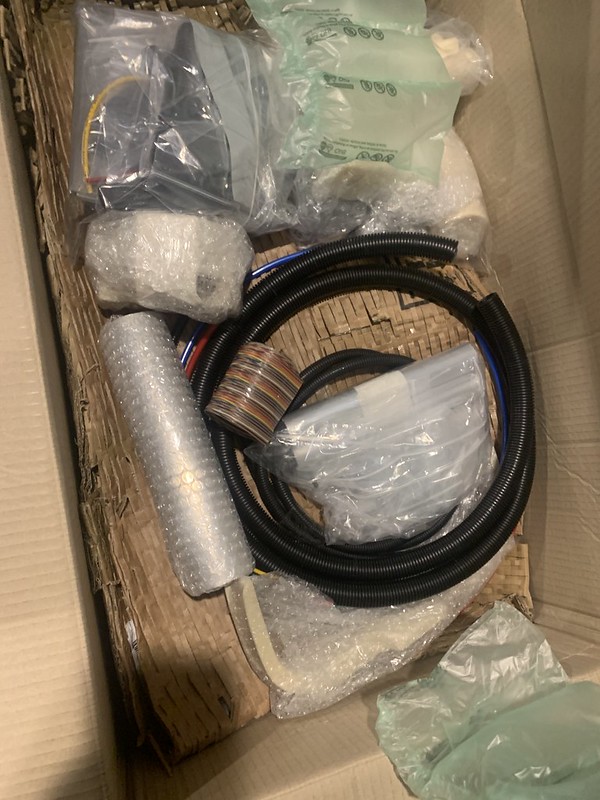
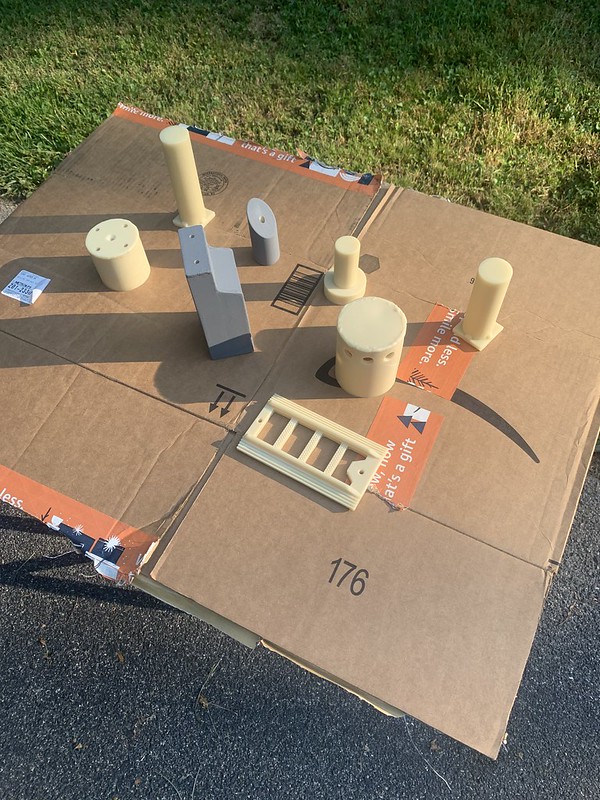
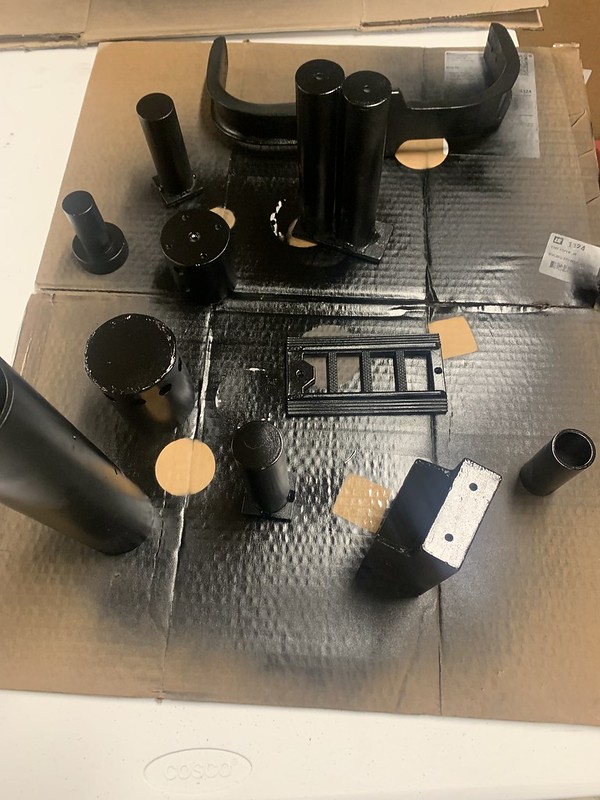
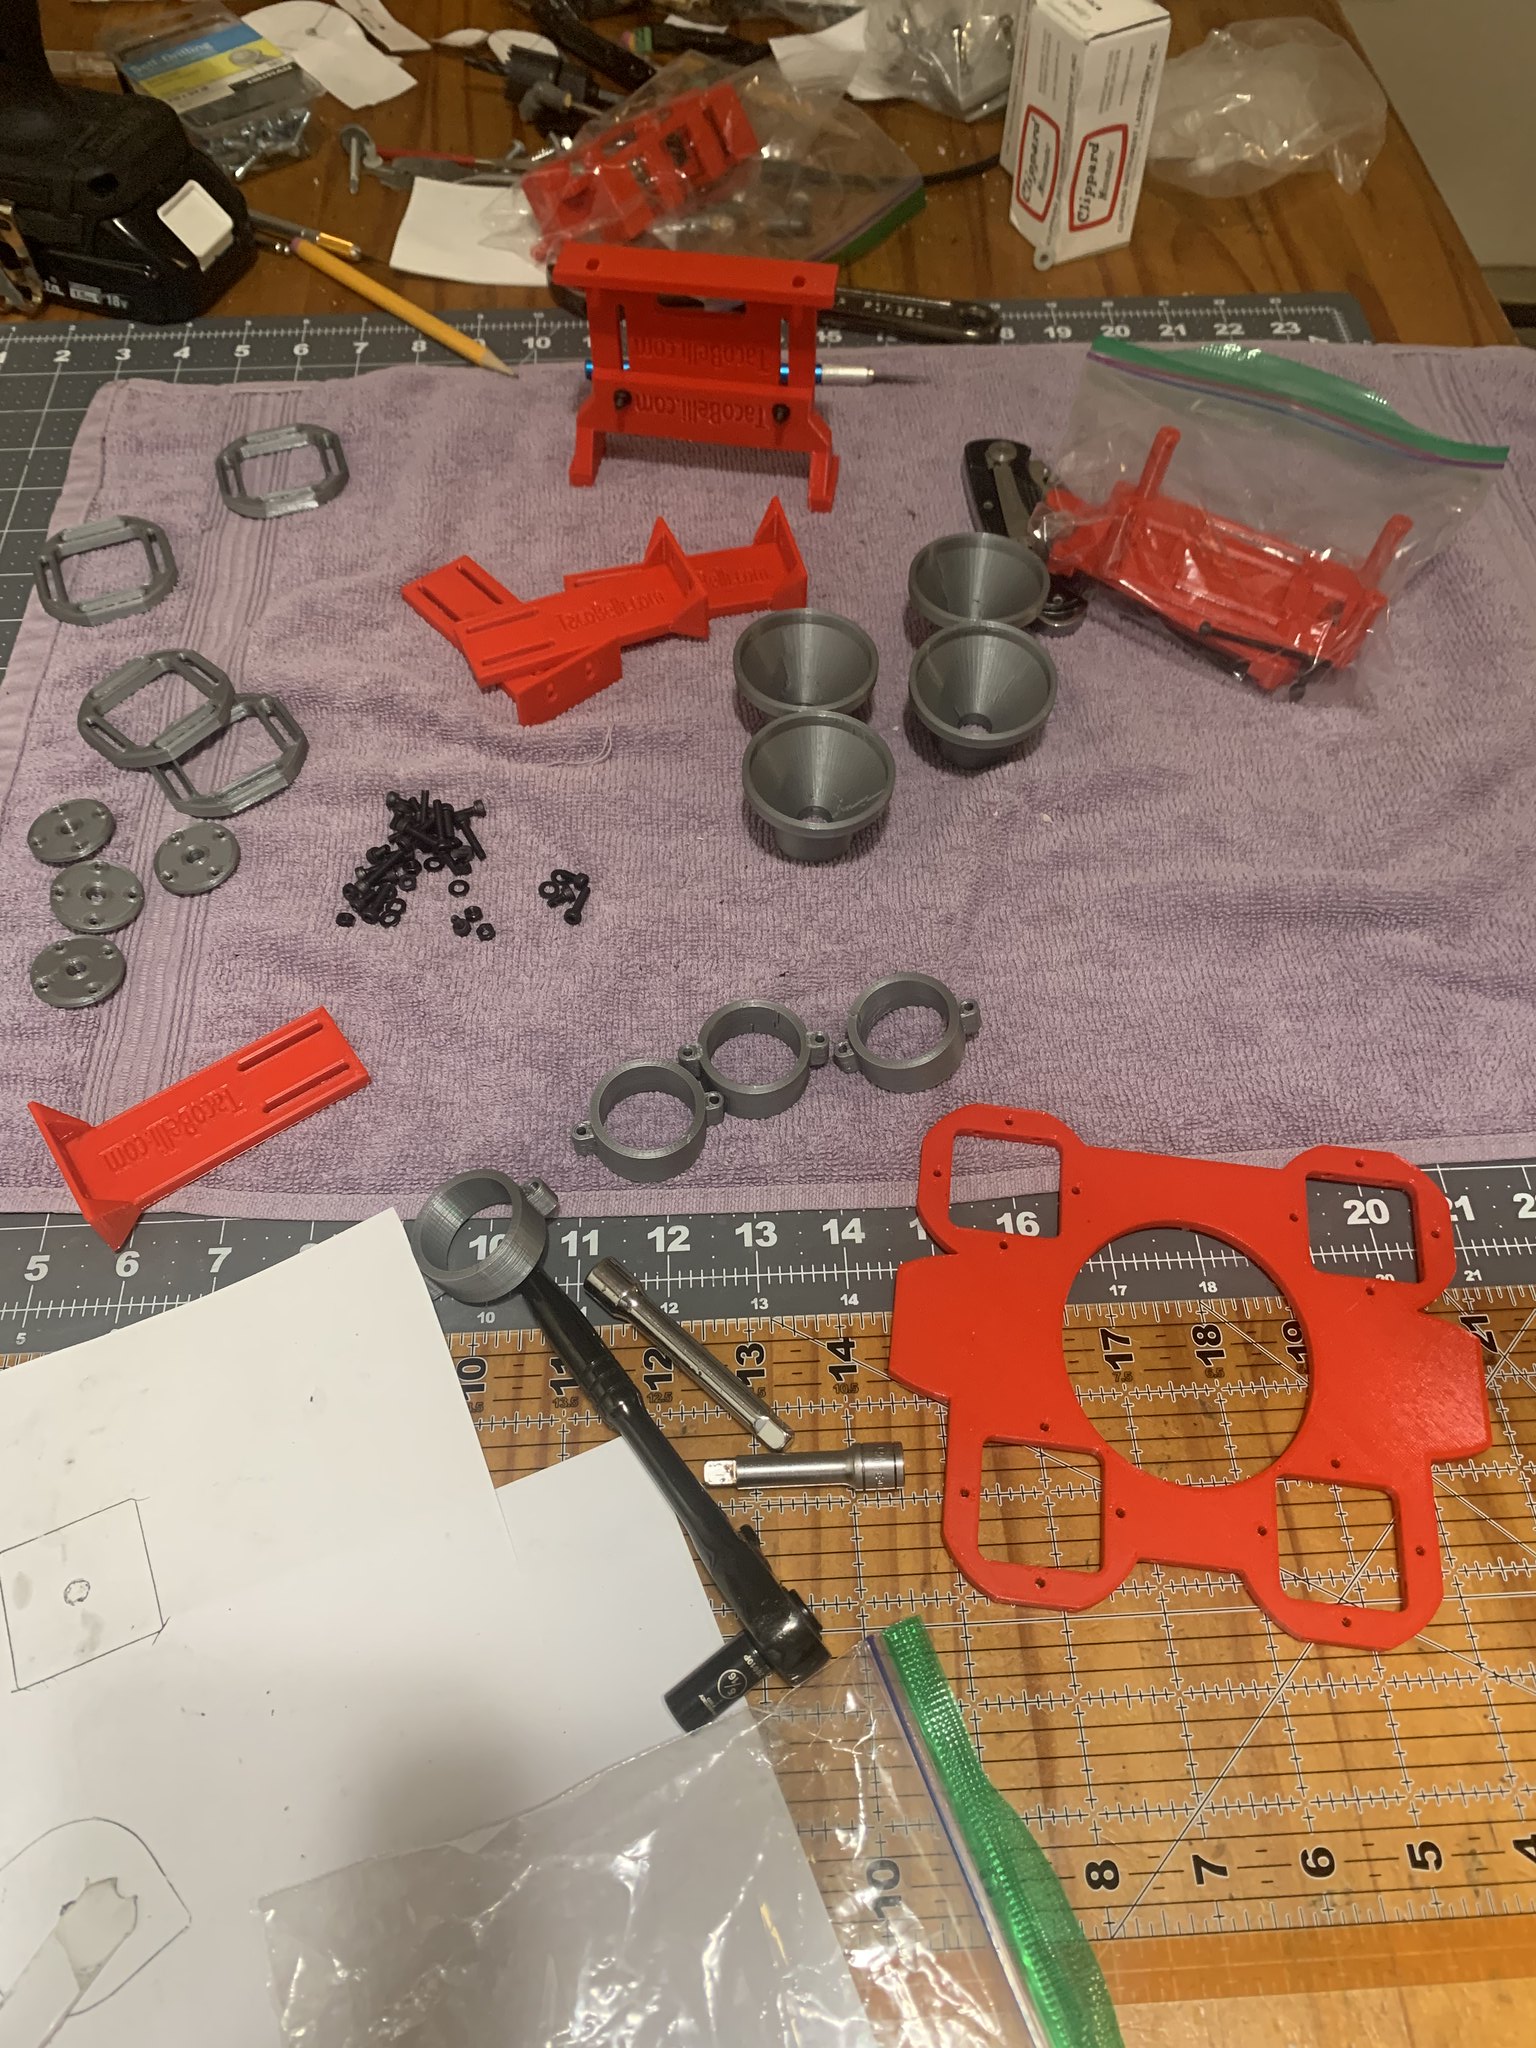
After unpacking everything and laying it out, I thought about things I might want to replace or change. I scoured the reference library, build threads, and watched the movies to see what I liked about the packs and which one I wanted to build.... I did not know all the variations in the packs not only from movie to movie but from shot to shot in the same movie. In the end I decided I wanted a GB1 pack but not a particular one so this build is not specific to one single pack. My first pack will be a Hybrid tk1495 pack lol. I had already ordered a gb1 ribbon and had that in hand as well. Tobycj pointed out more of the differences between the packs and I set about ordering some needed items.
I had already ordered a Ninjatunes electronics kit and had that in hand for most of my wait. I also printed and made a set of Ecto googles during my wait. After posting them, I was asked about them by a really cool person in the GB community and printed 2 more sets and sent them to him and his partner for all they do for the community. Of course he has changed them so much since I sent them to him that they are his own now. For me doing this CS prop shop sent me a flash bulb and smoke kit for my pack. Was an awesome and cool thing for them to do, I was just trying to thank them from a new member of the community.
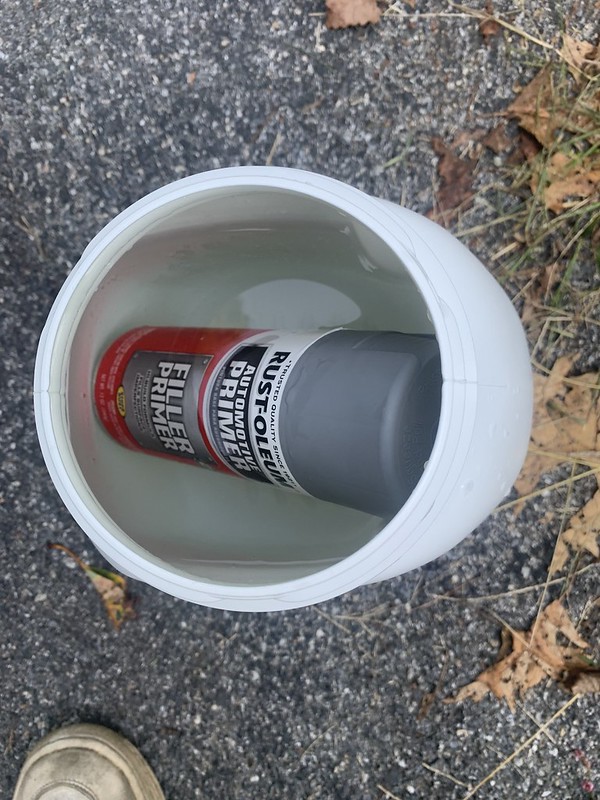
So I had my thoughts on what I wanted out of this pack and my electronics, smoke and pack now in hand, time to start....
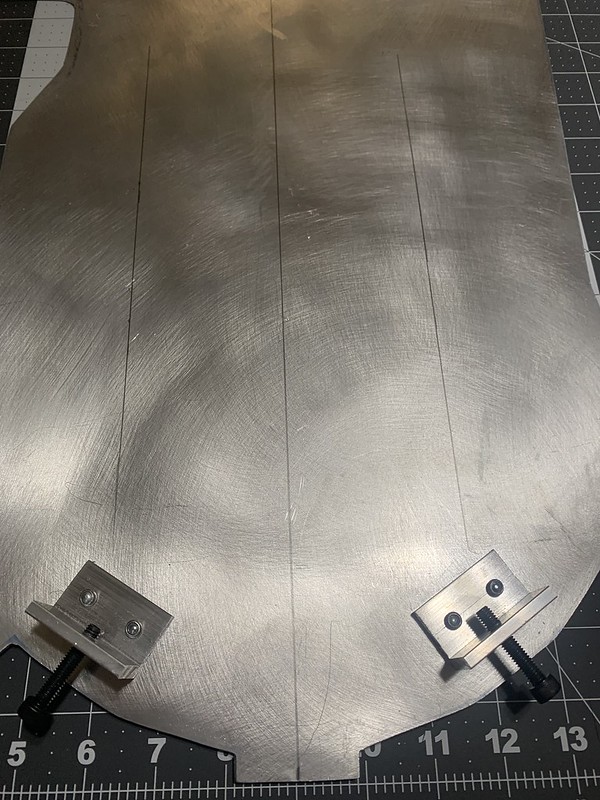
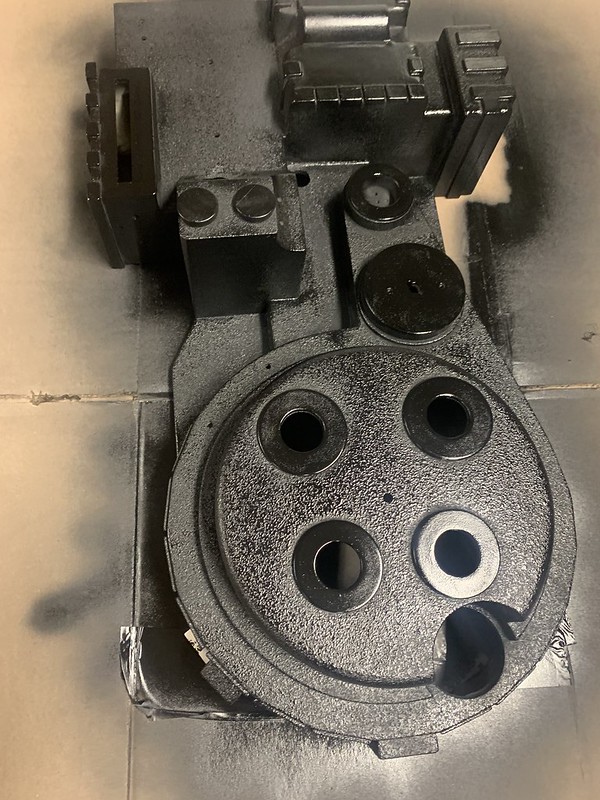
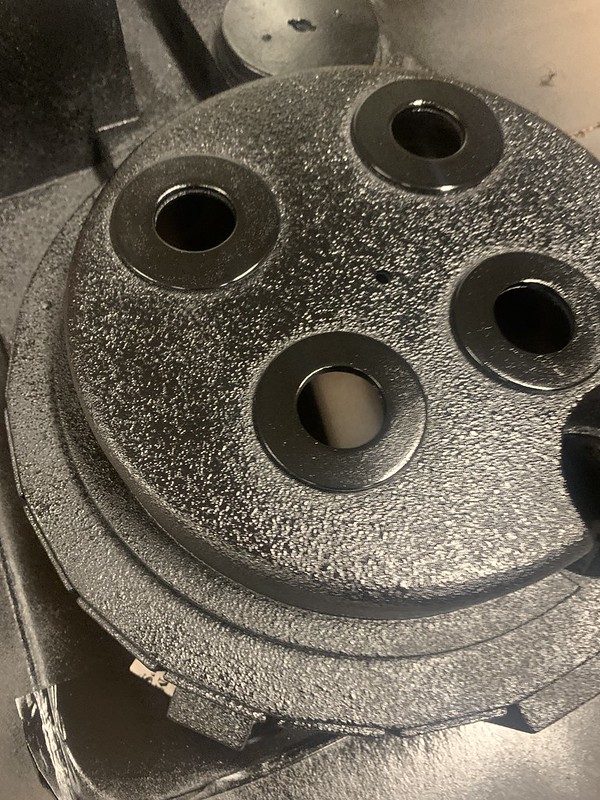
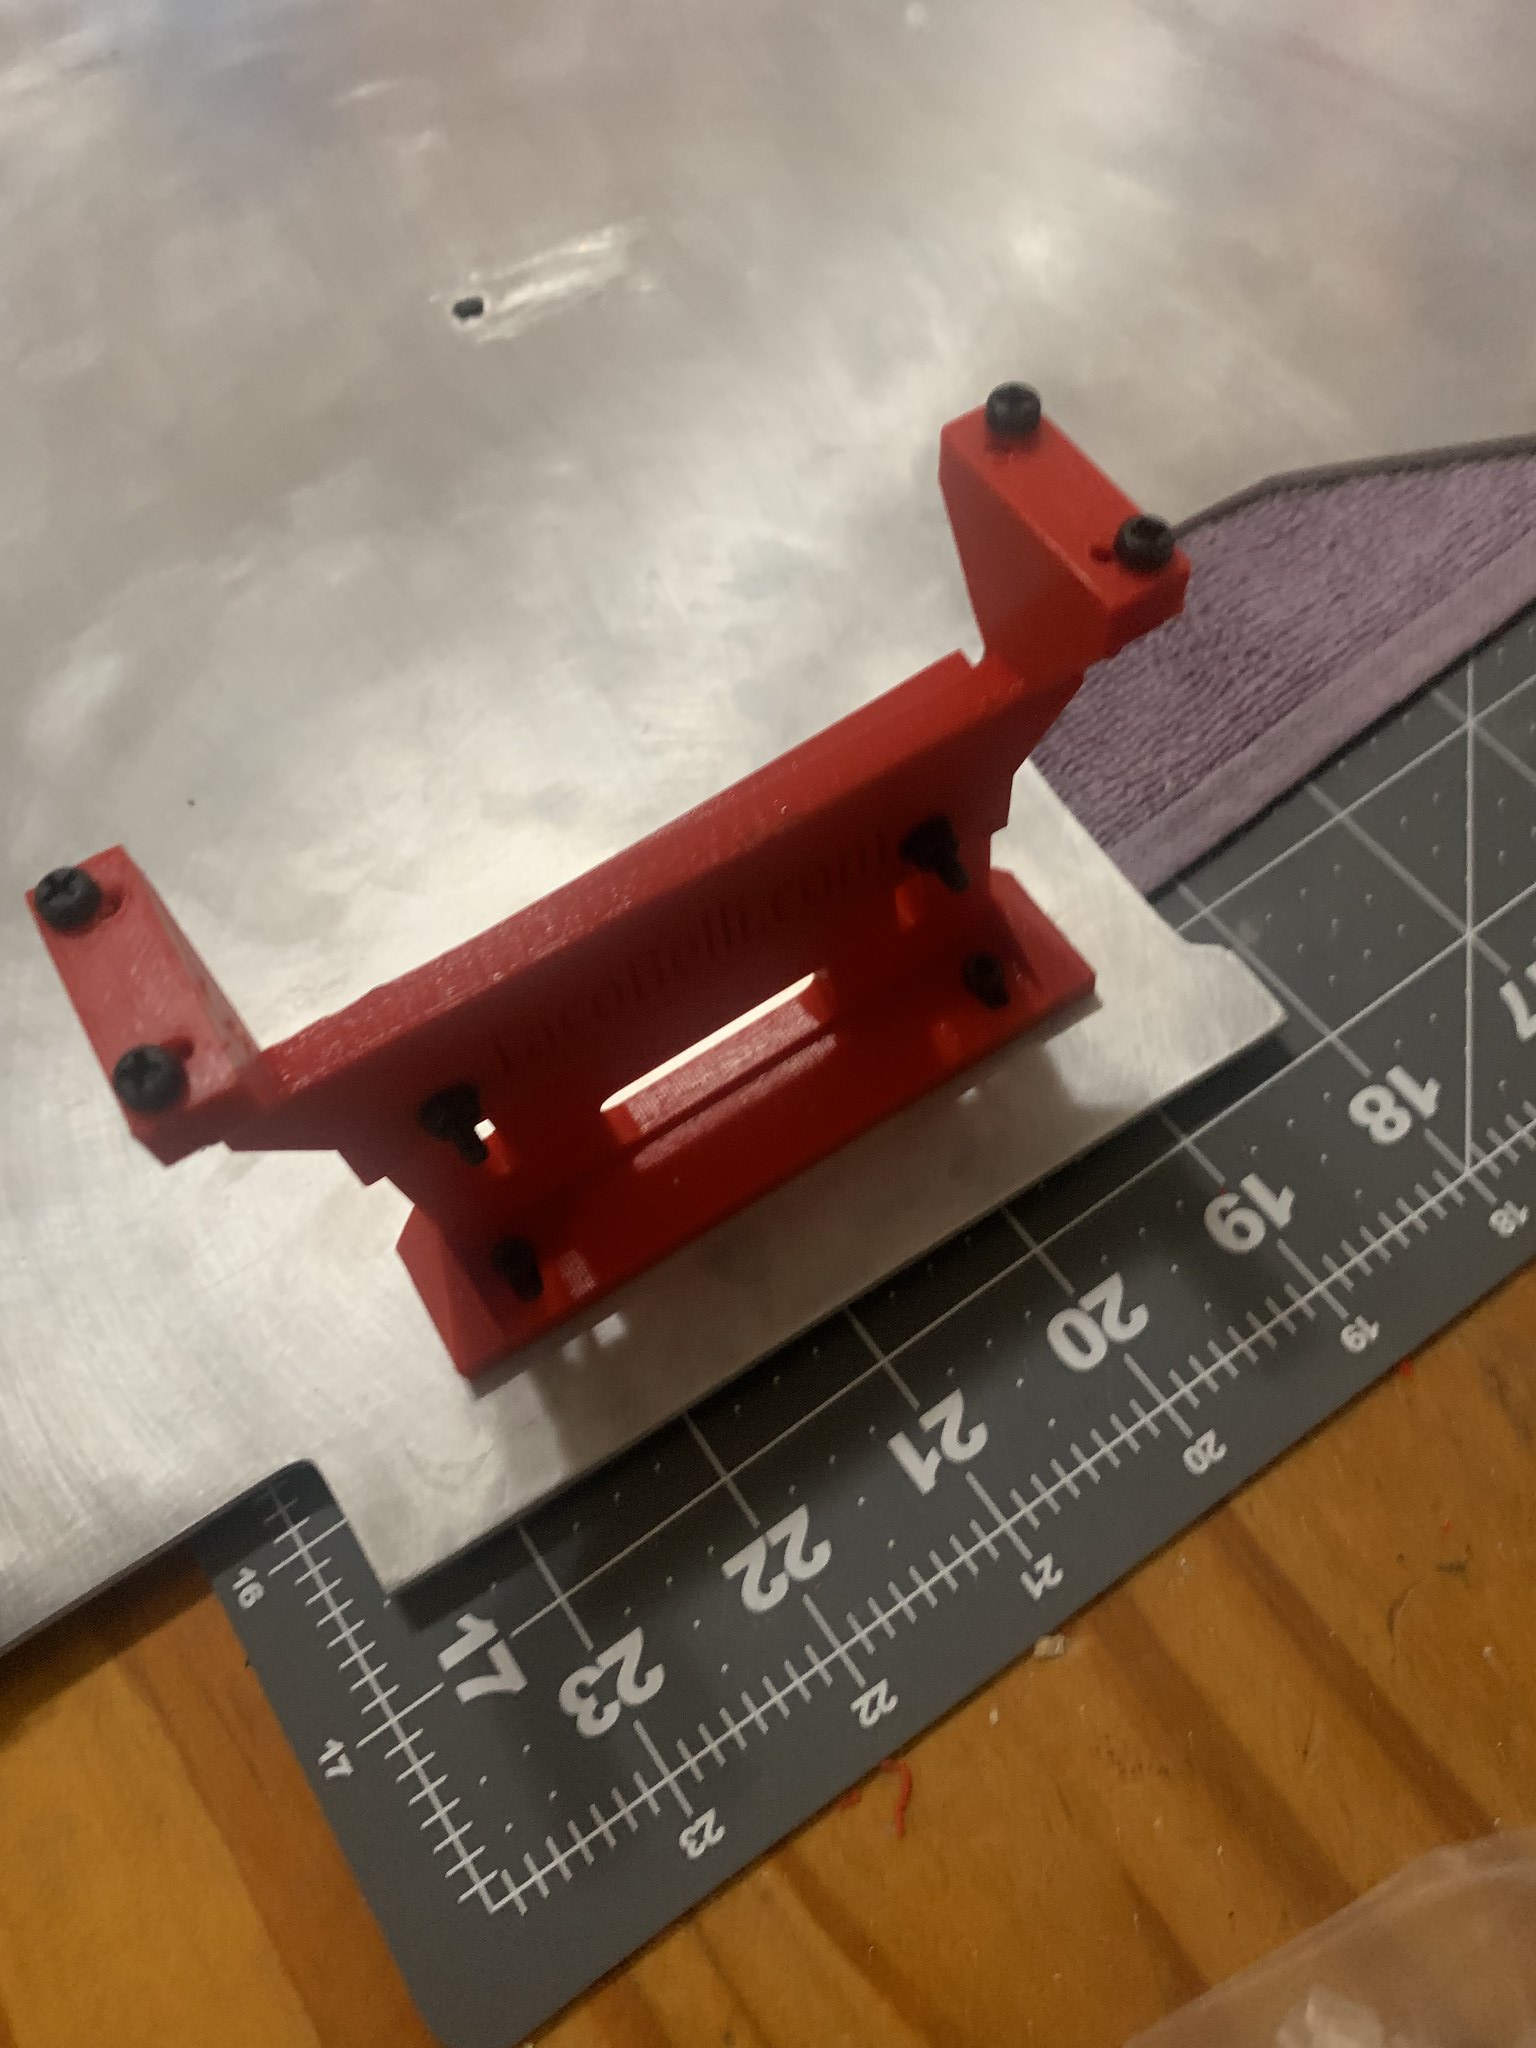
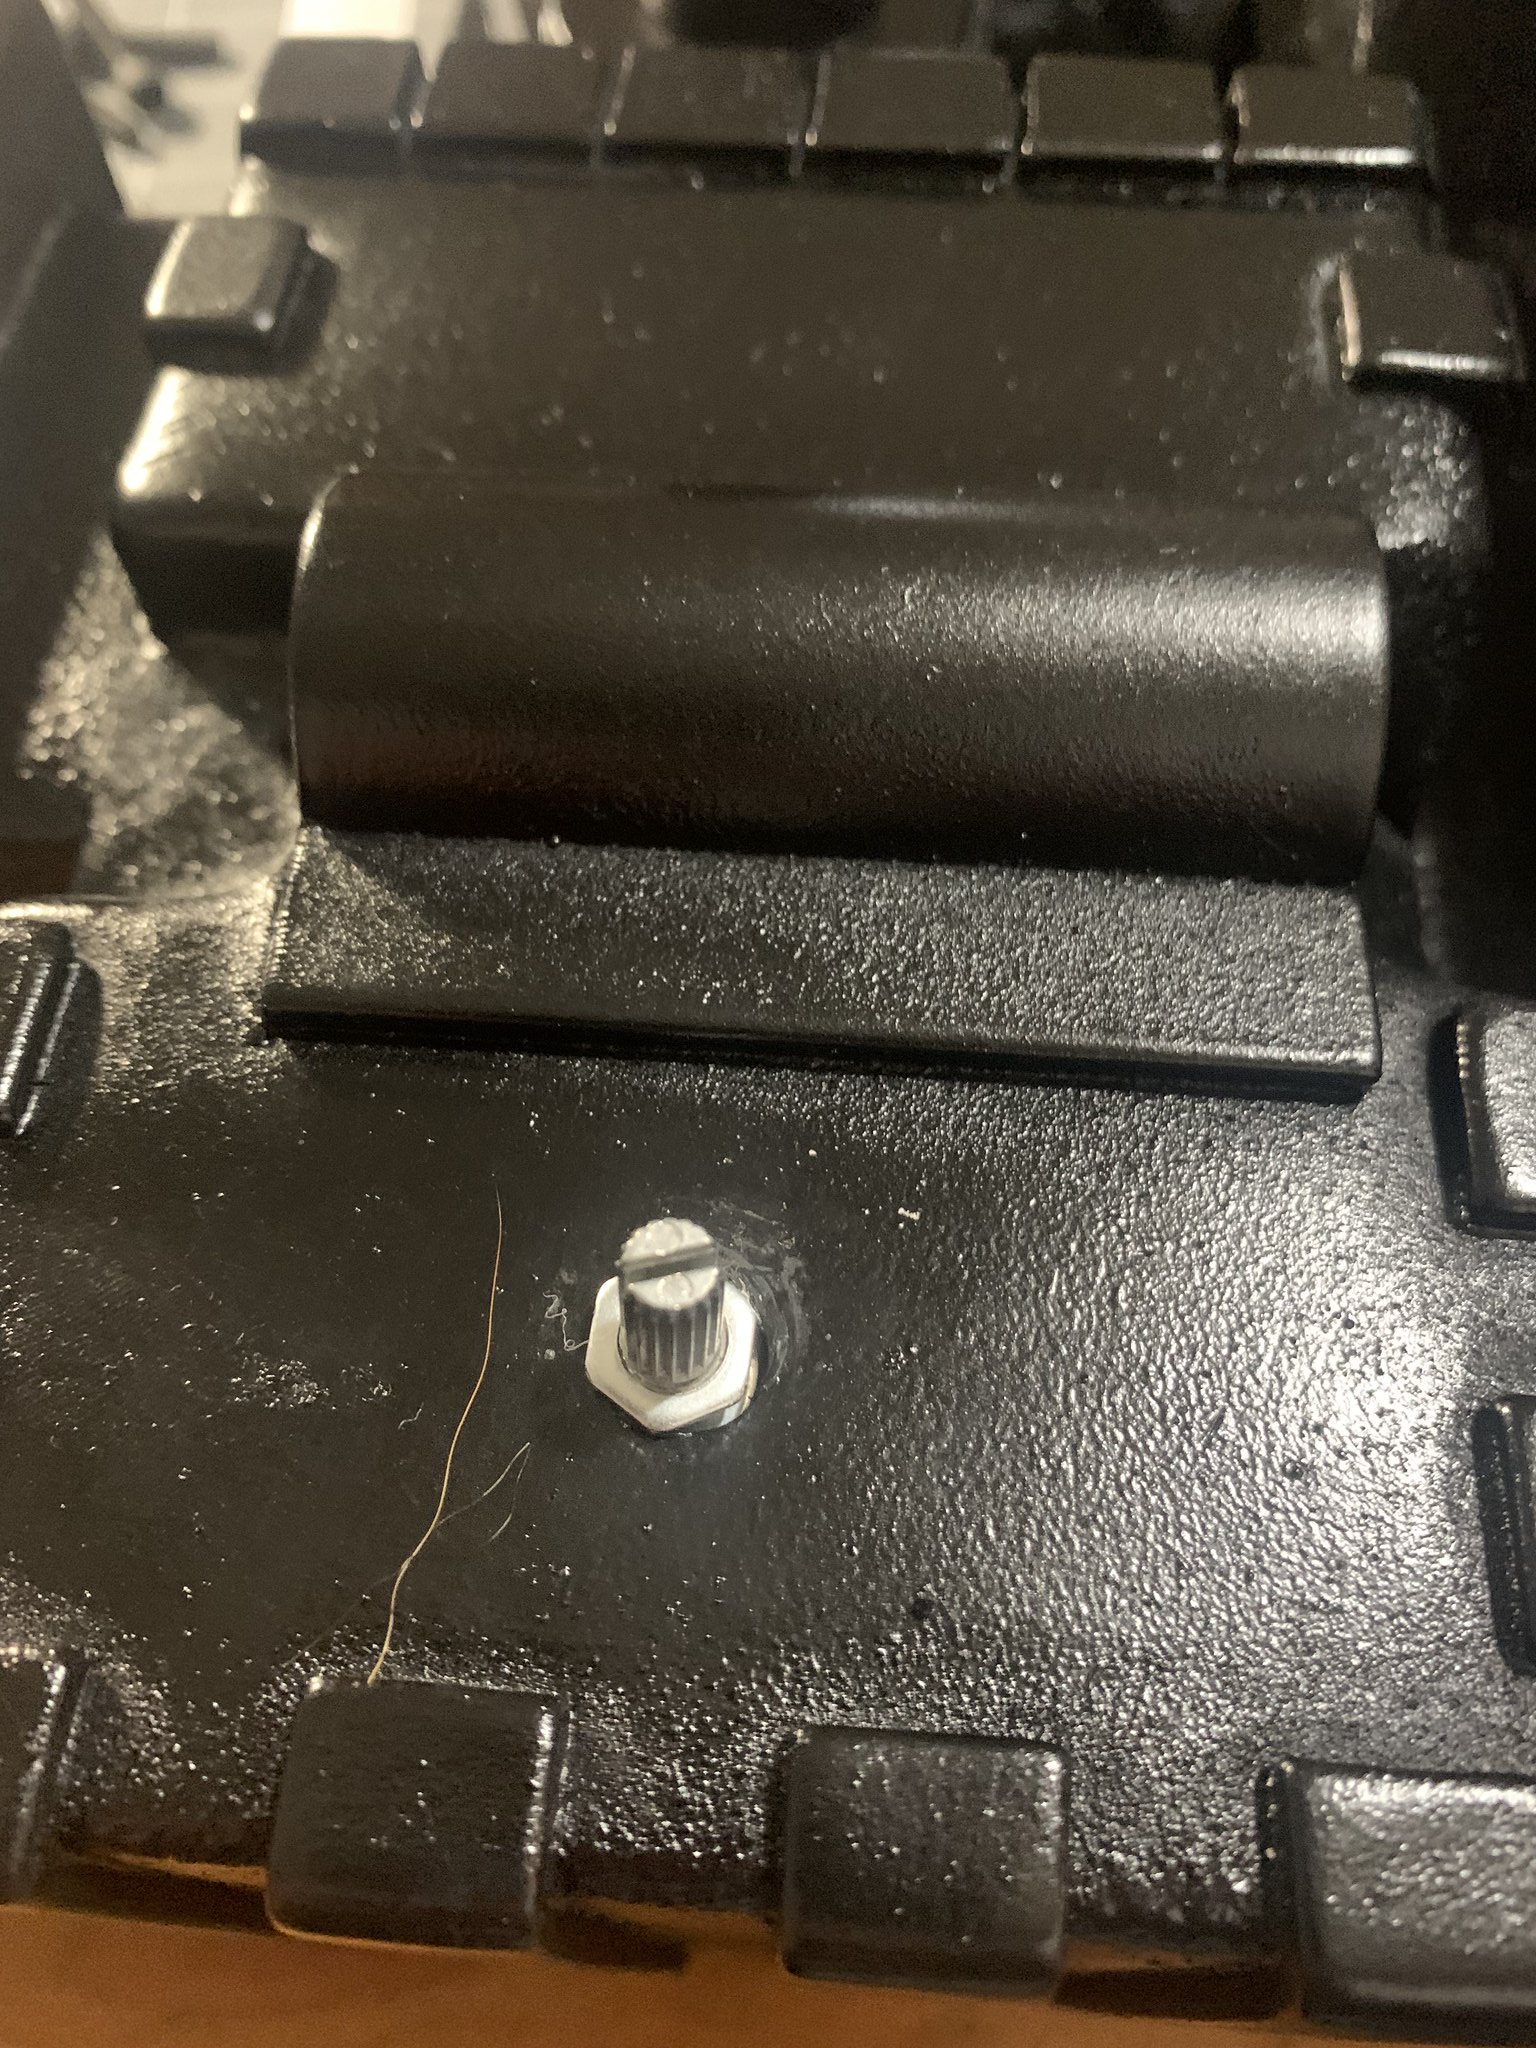
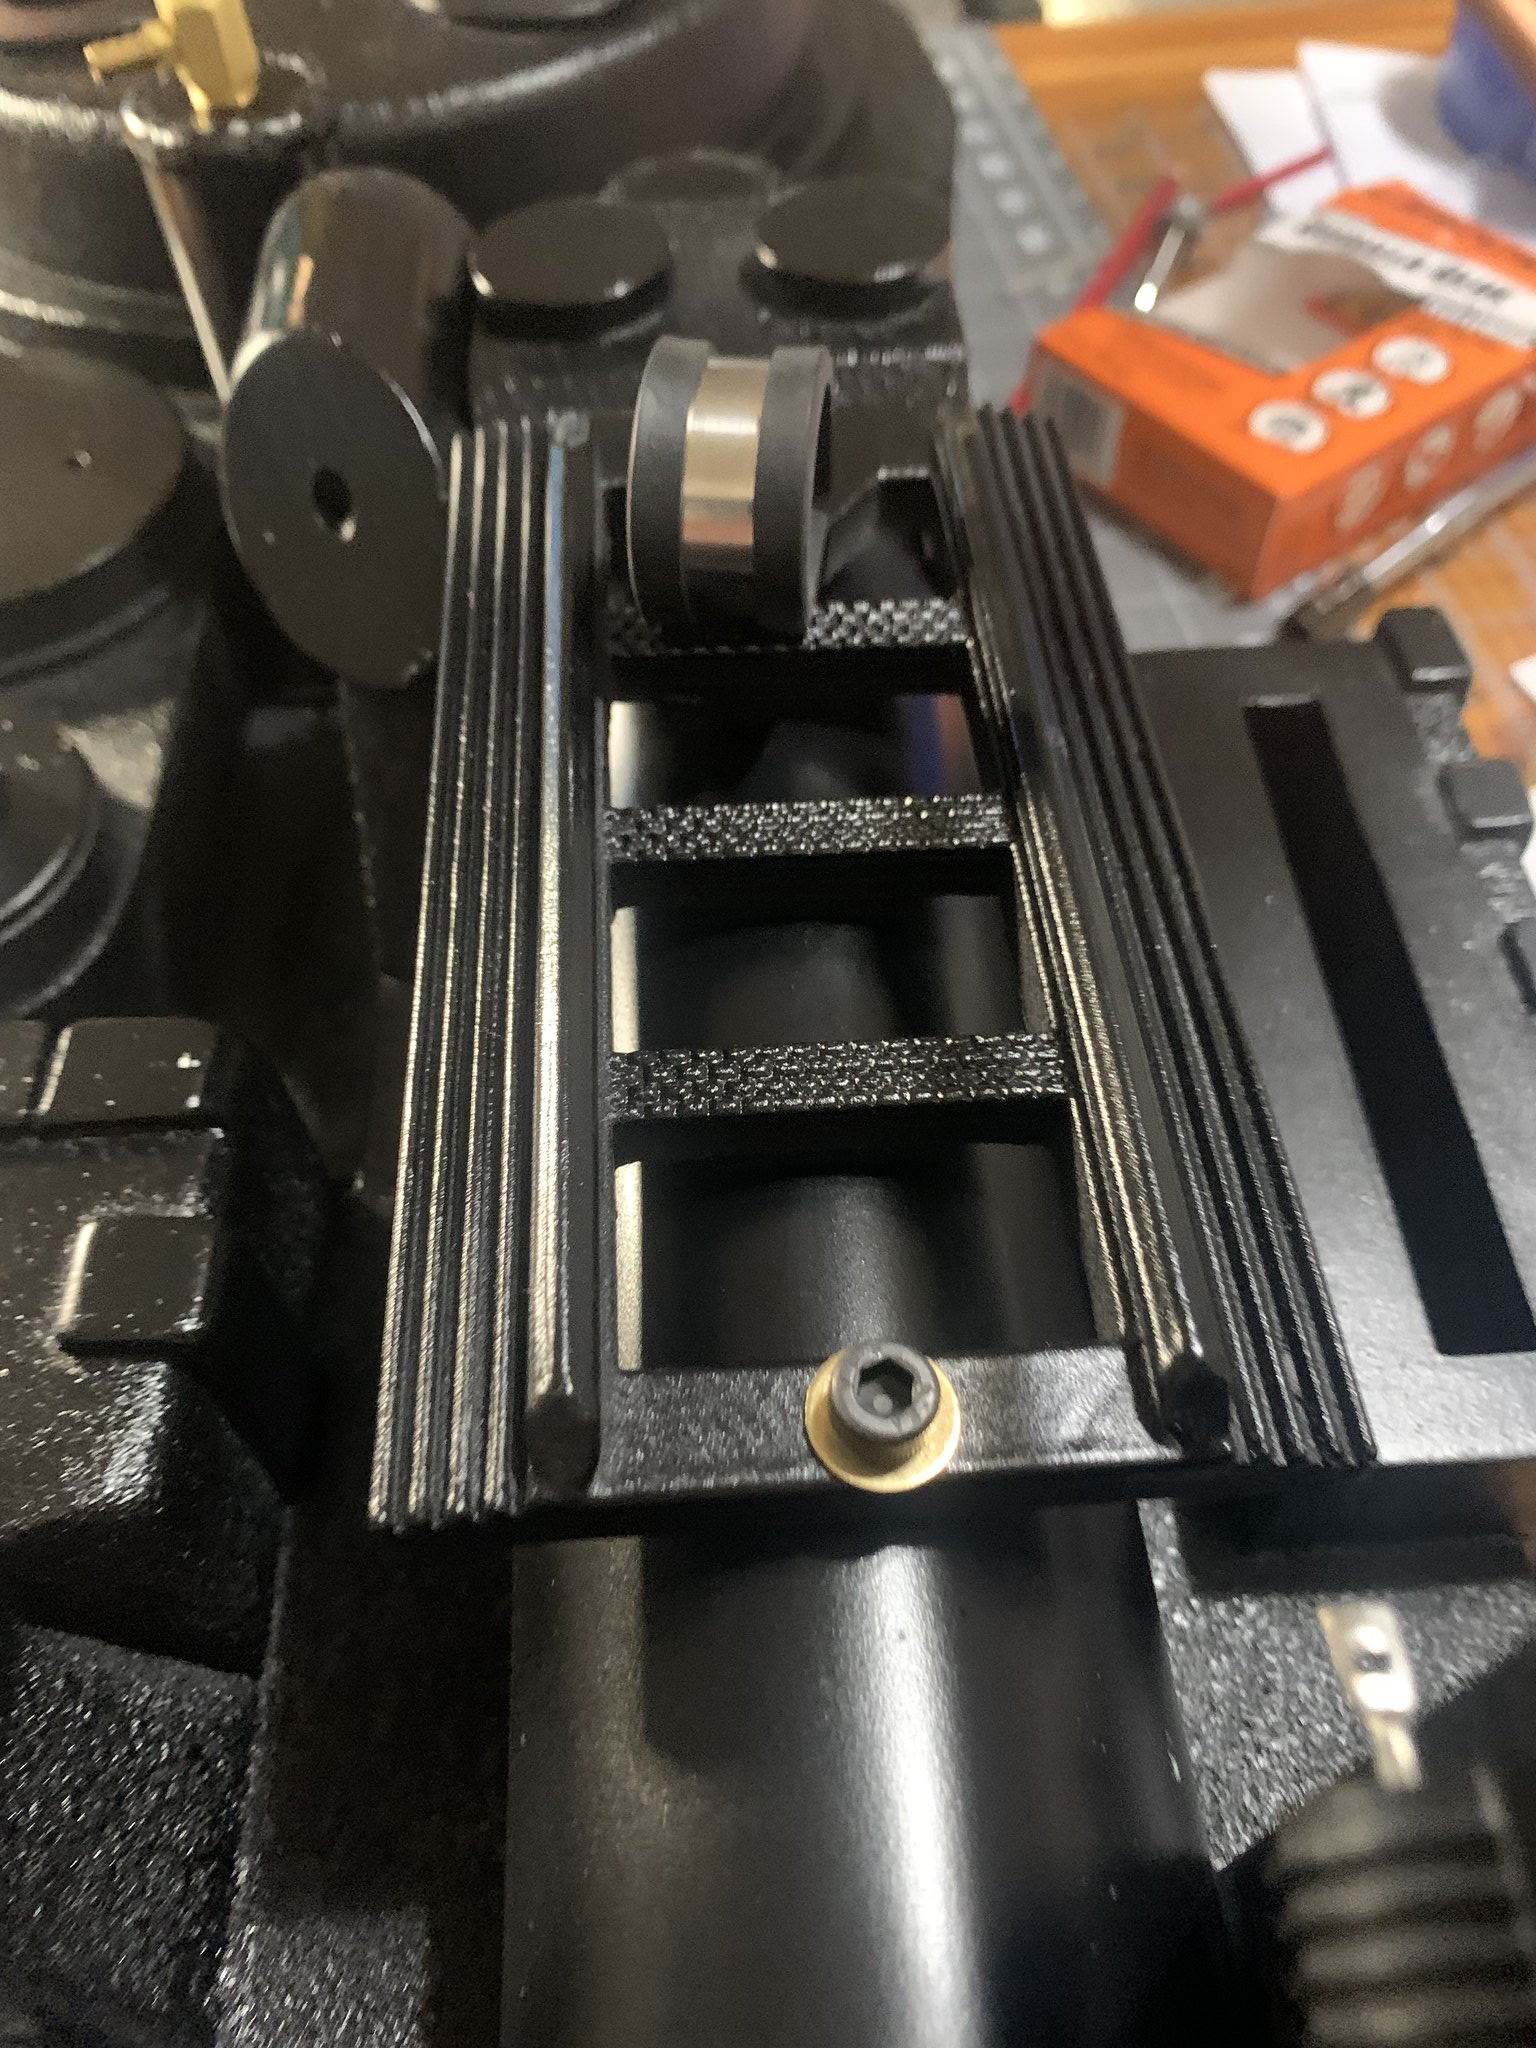
Figured attaching the motherboard to the Alice frame was as best a place as any to start. I had printed out all of Stefan Otto's plans out and put them in a binder so opened it to the correct page and yikes!!!! that is a lot of numbers.
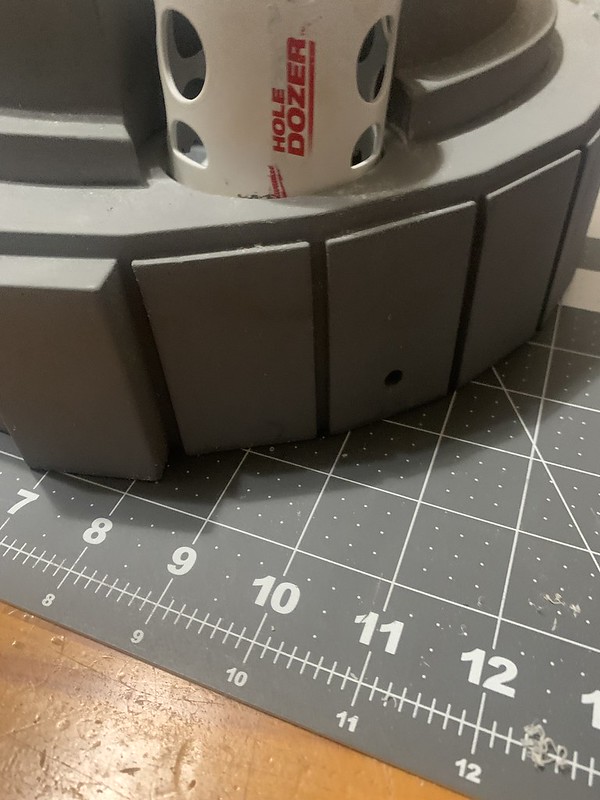
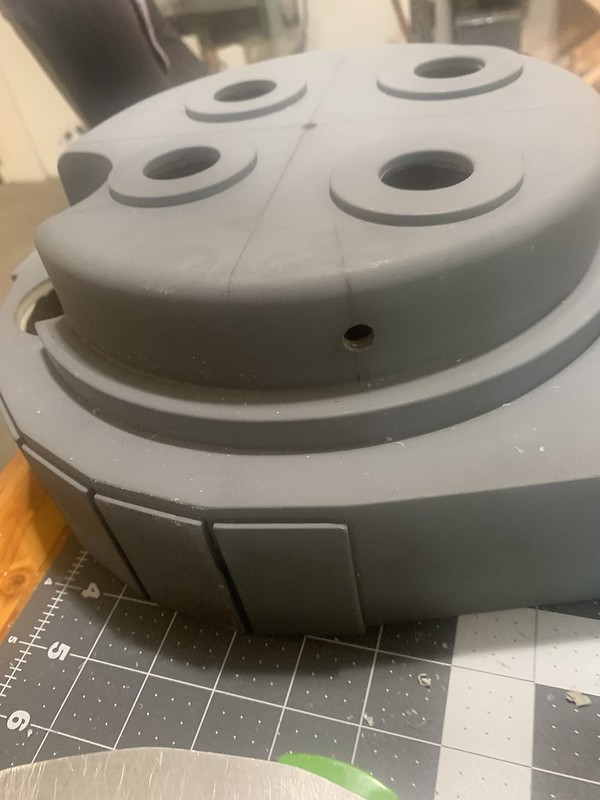
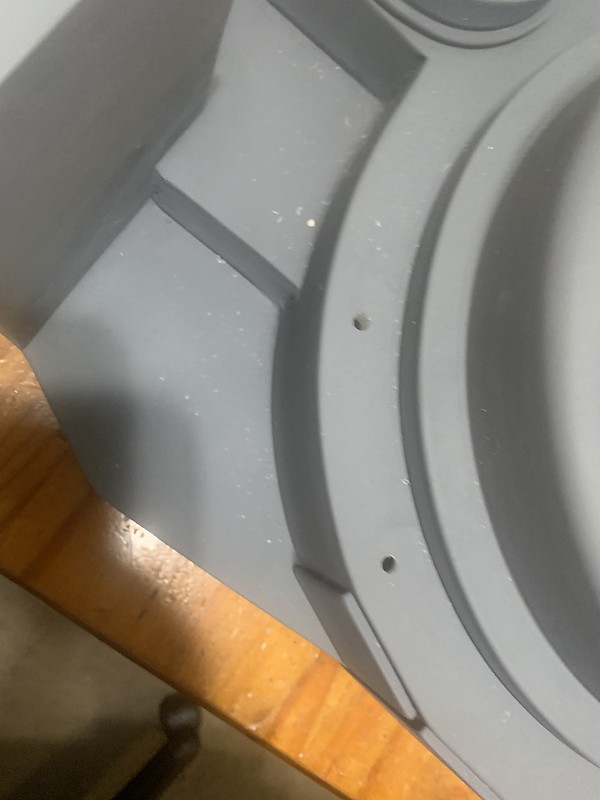
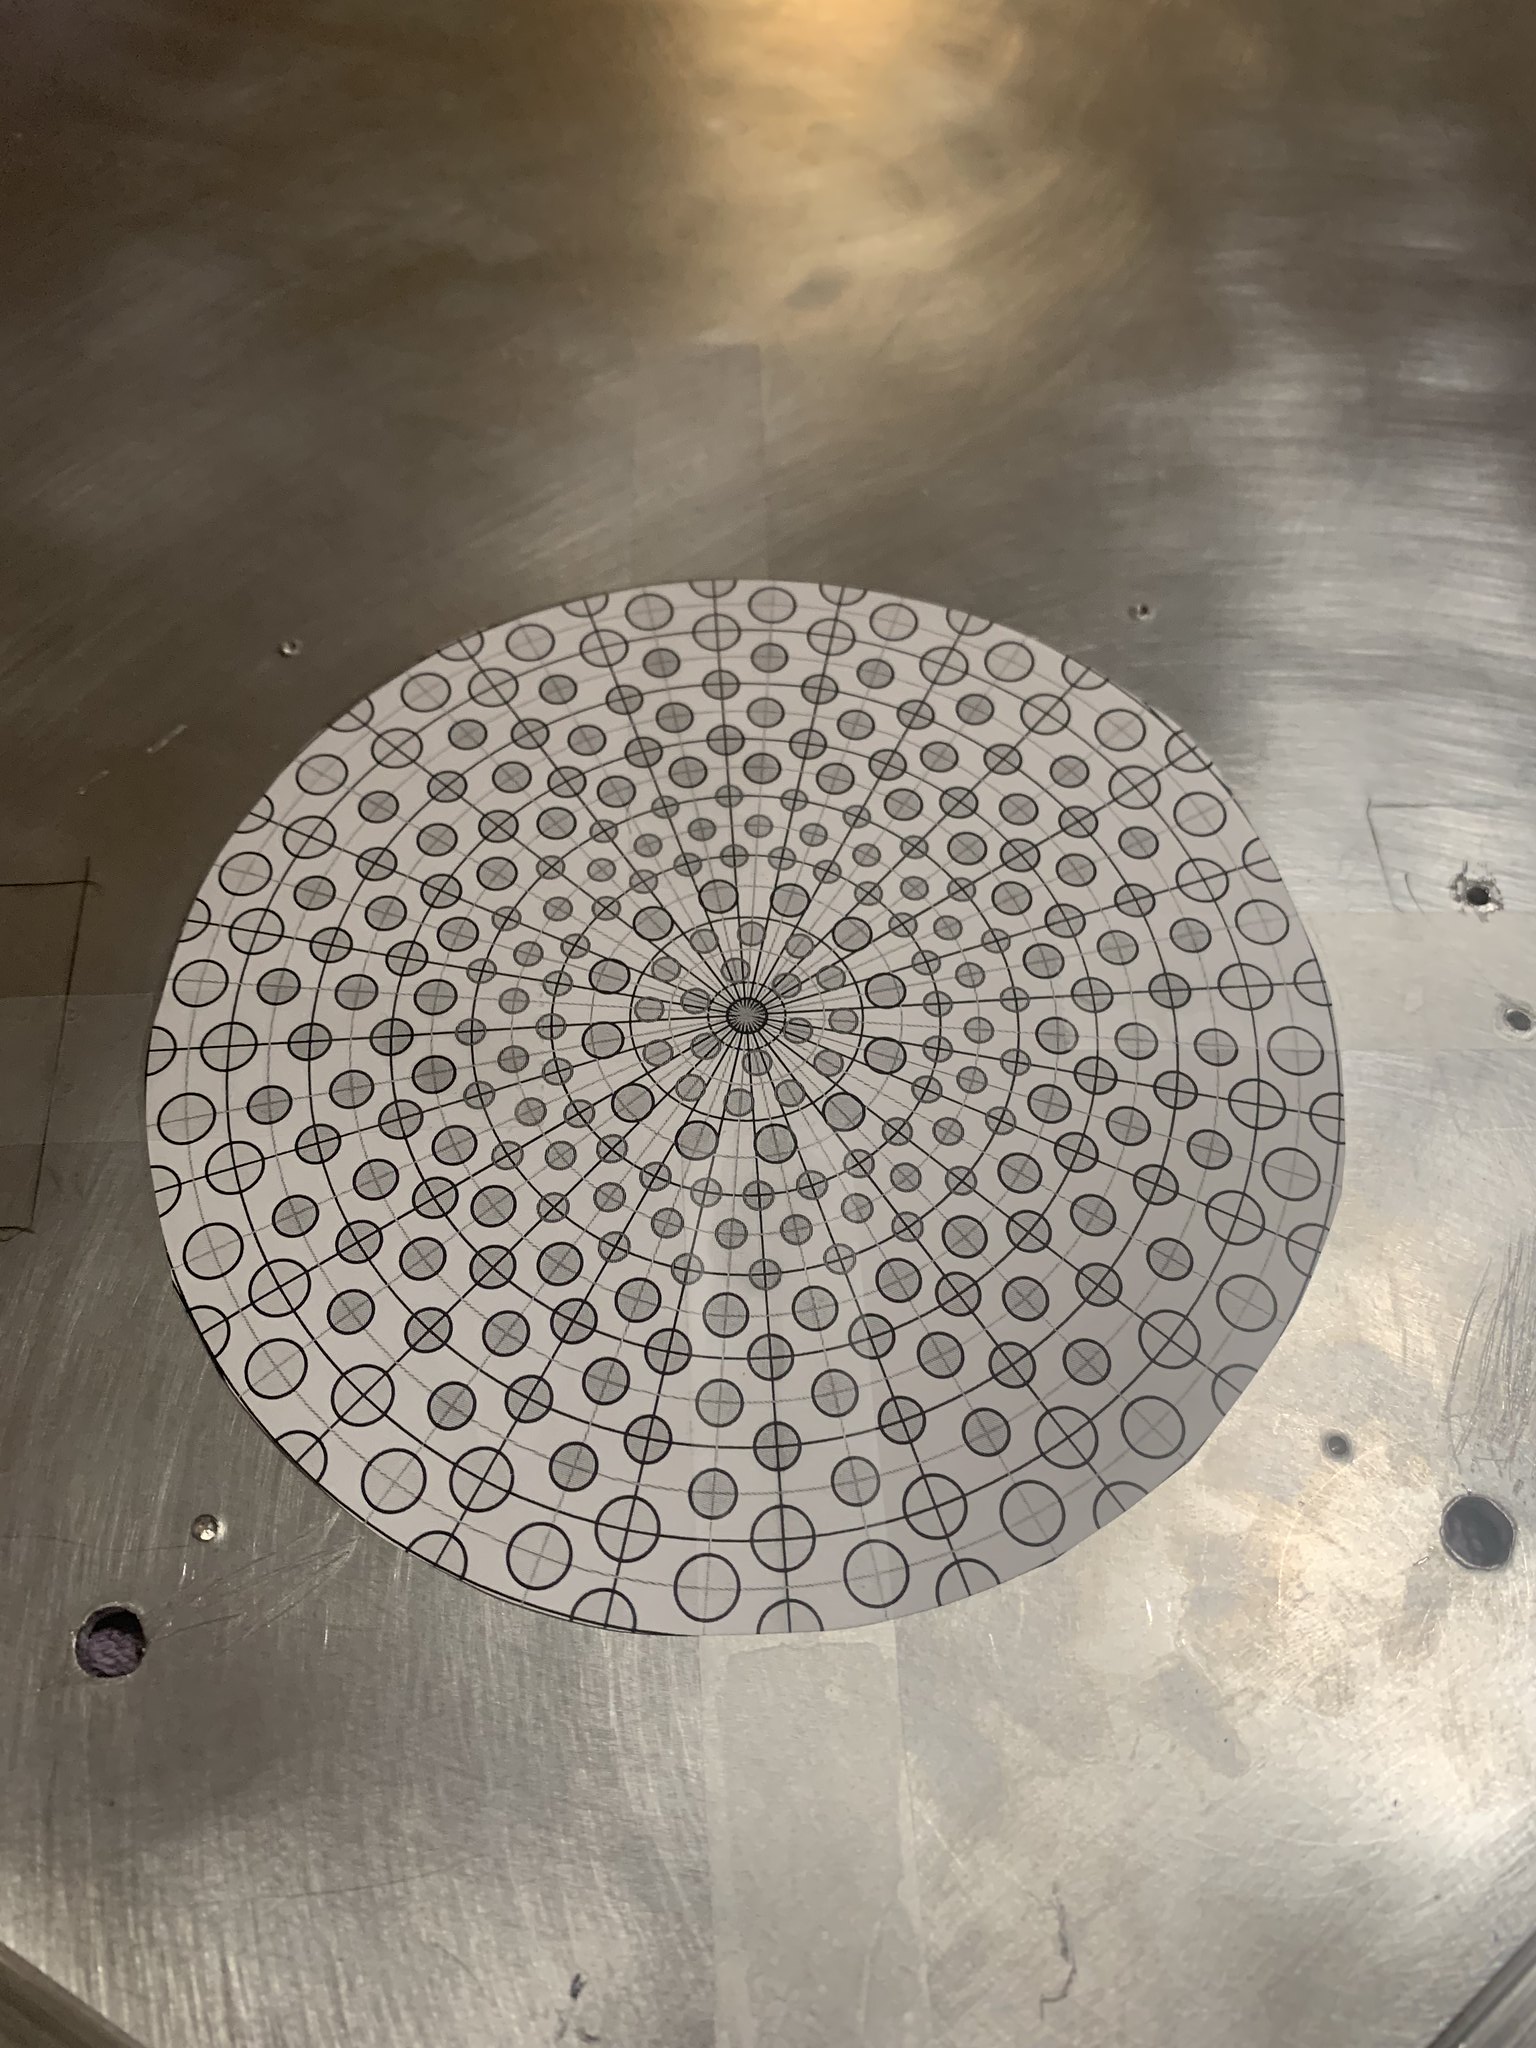
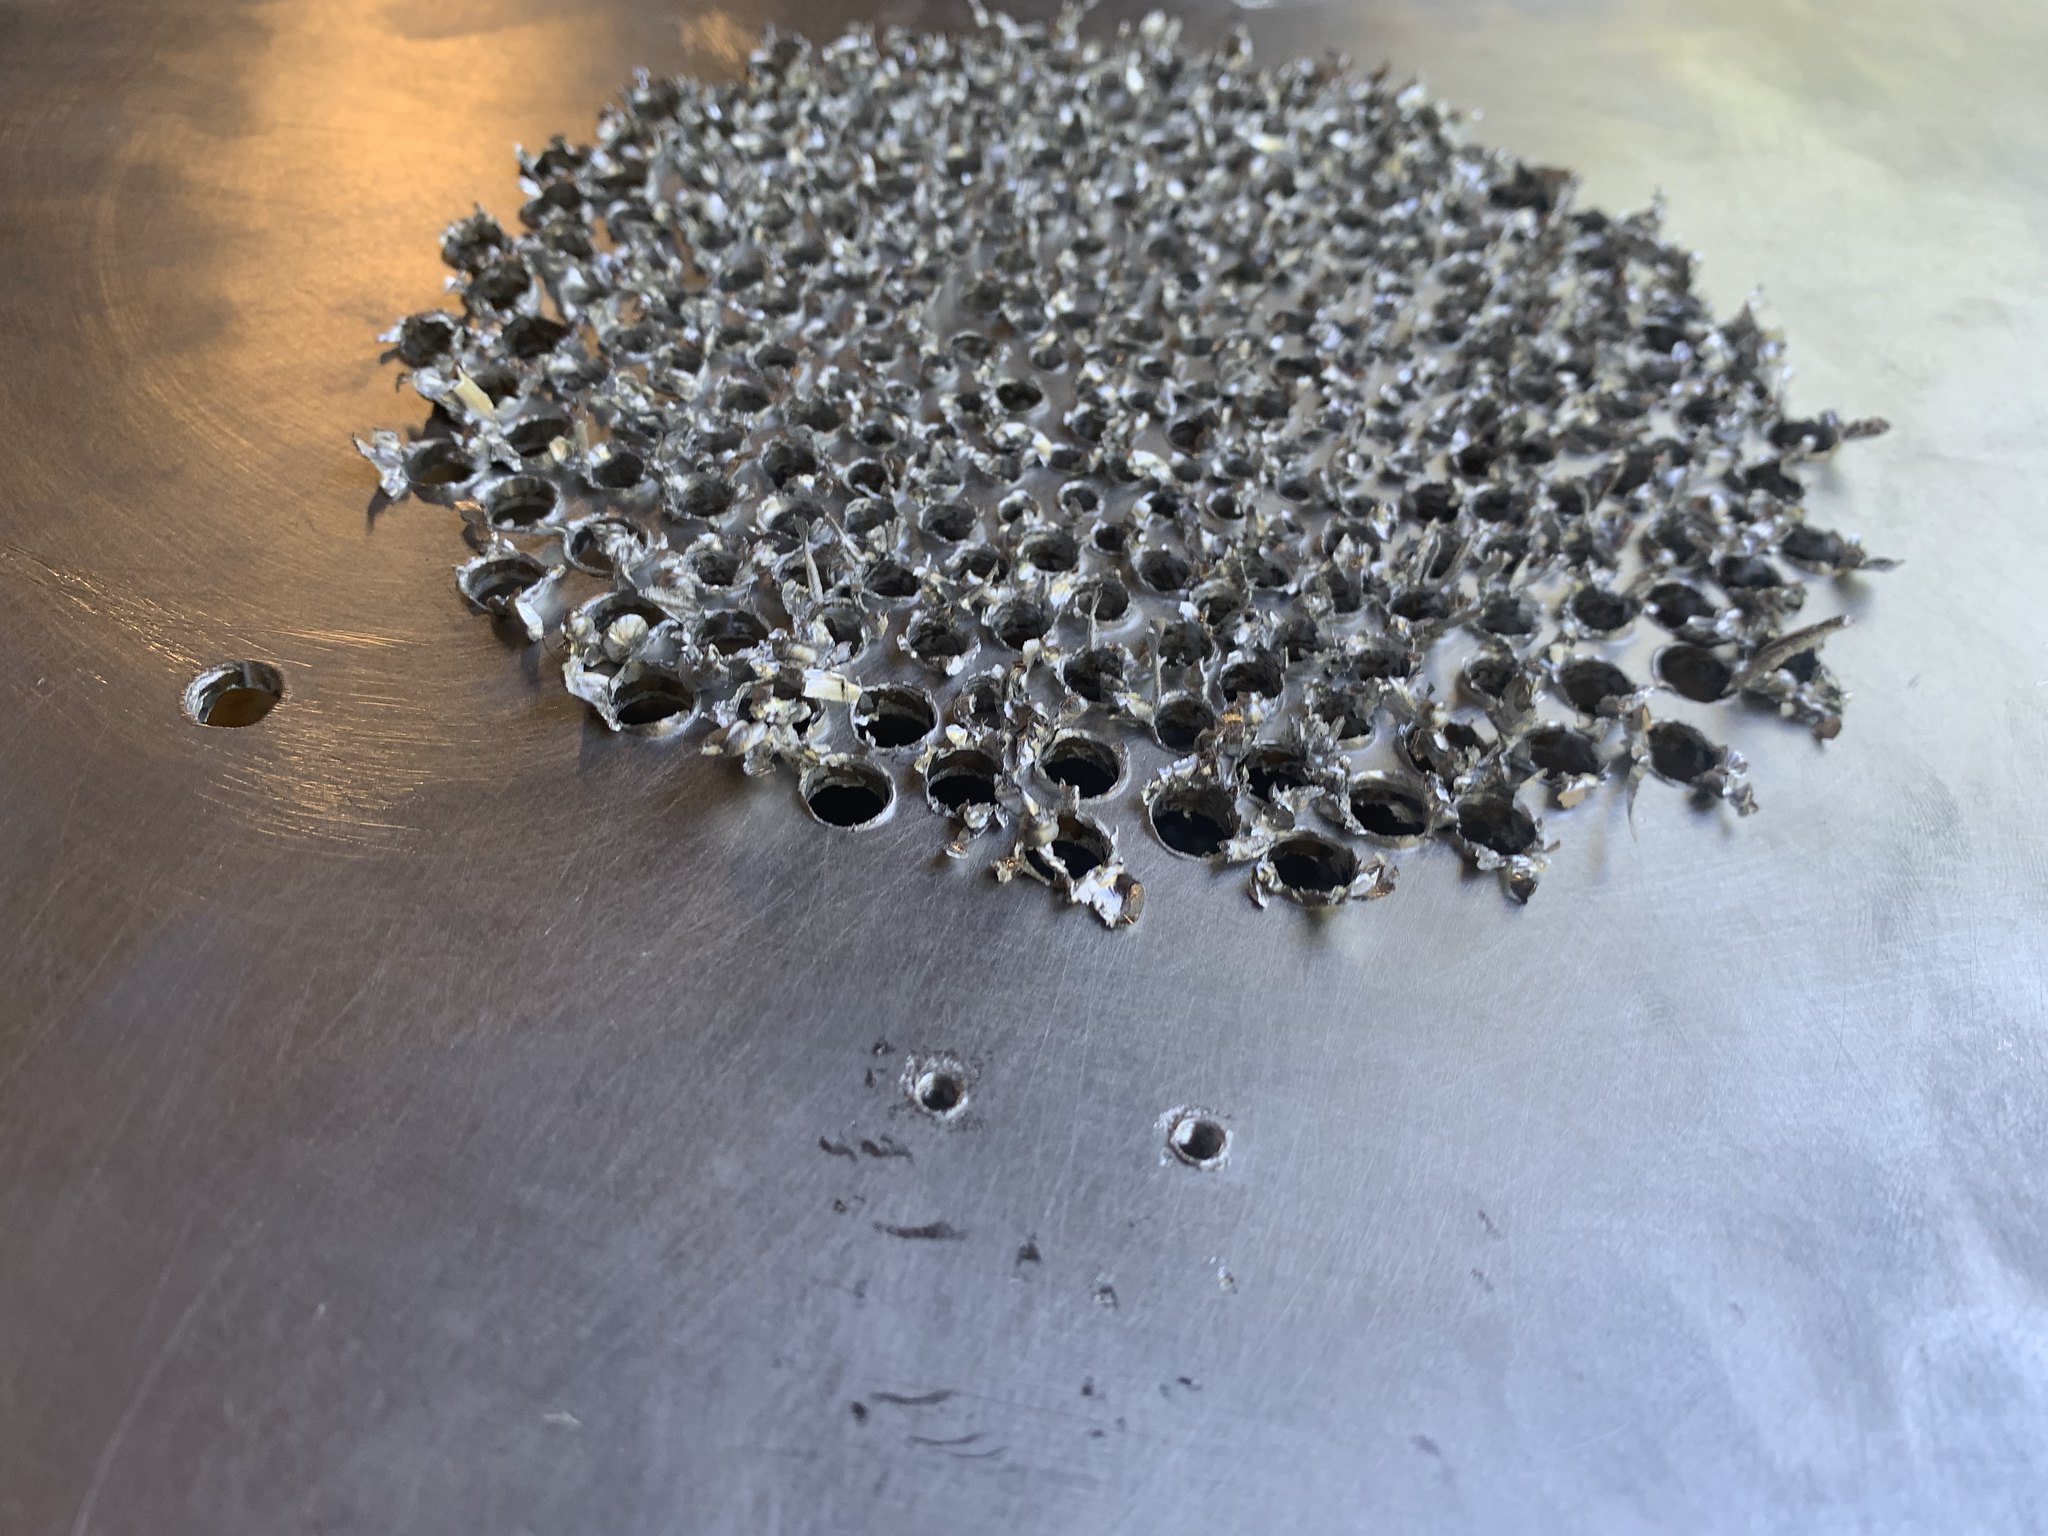
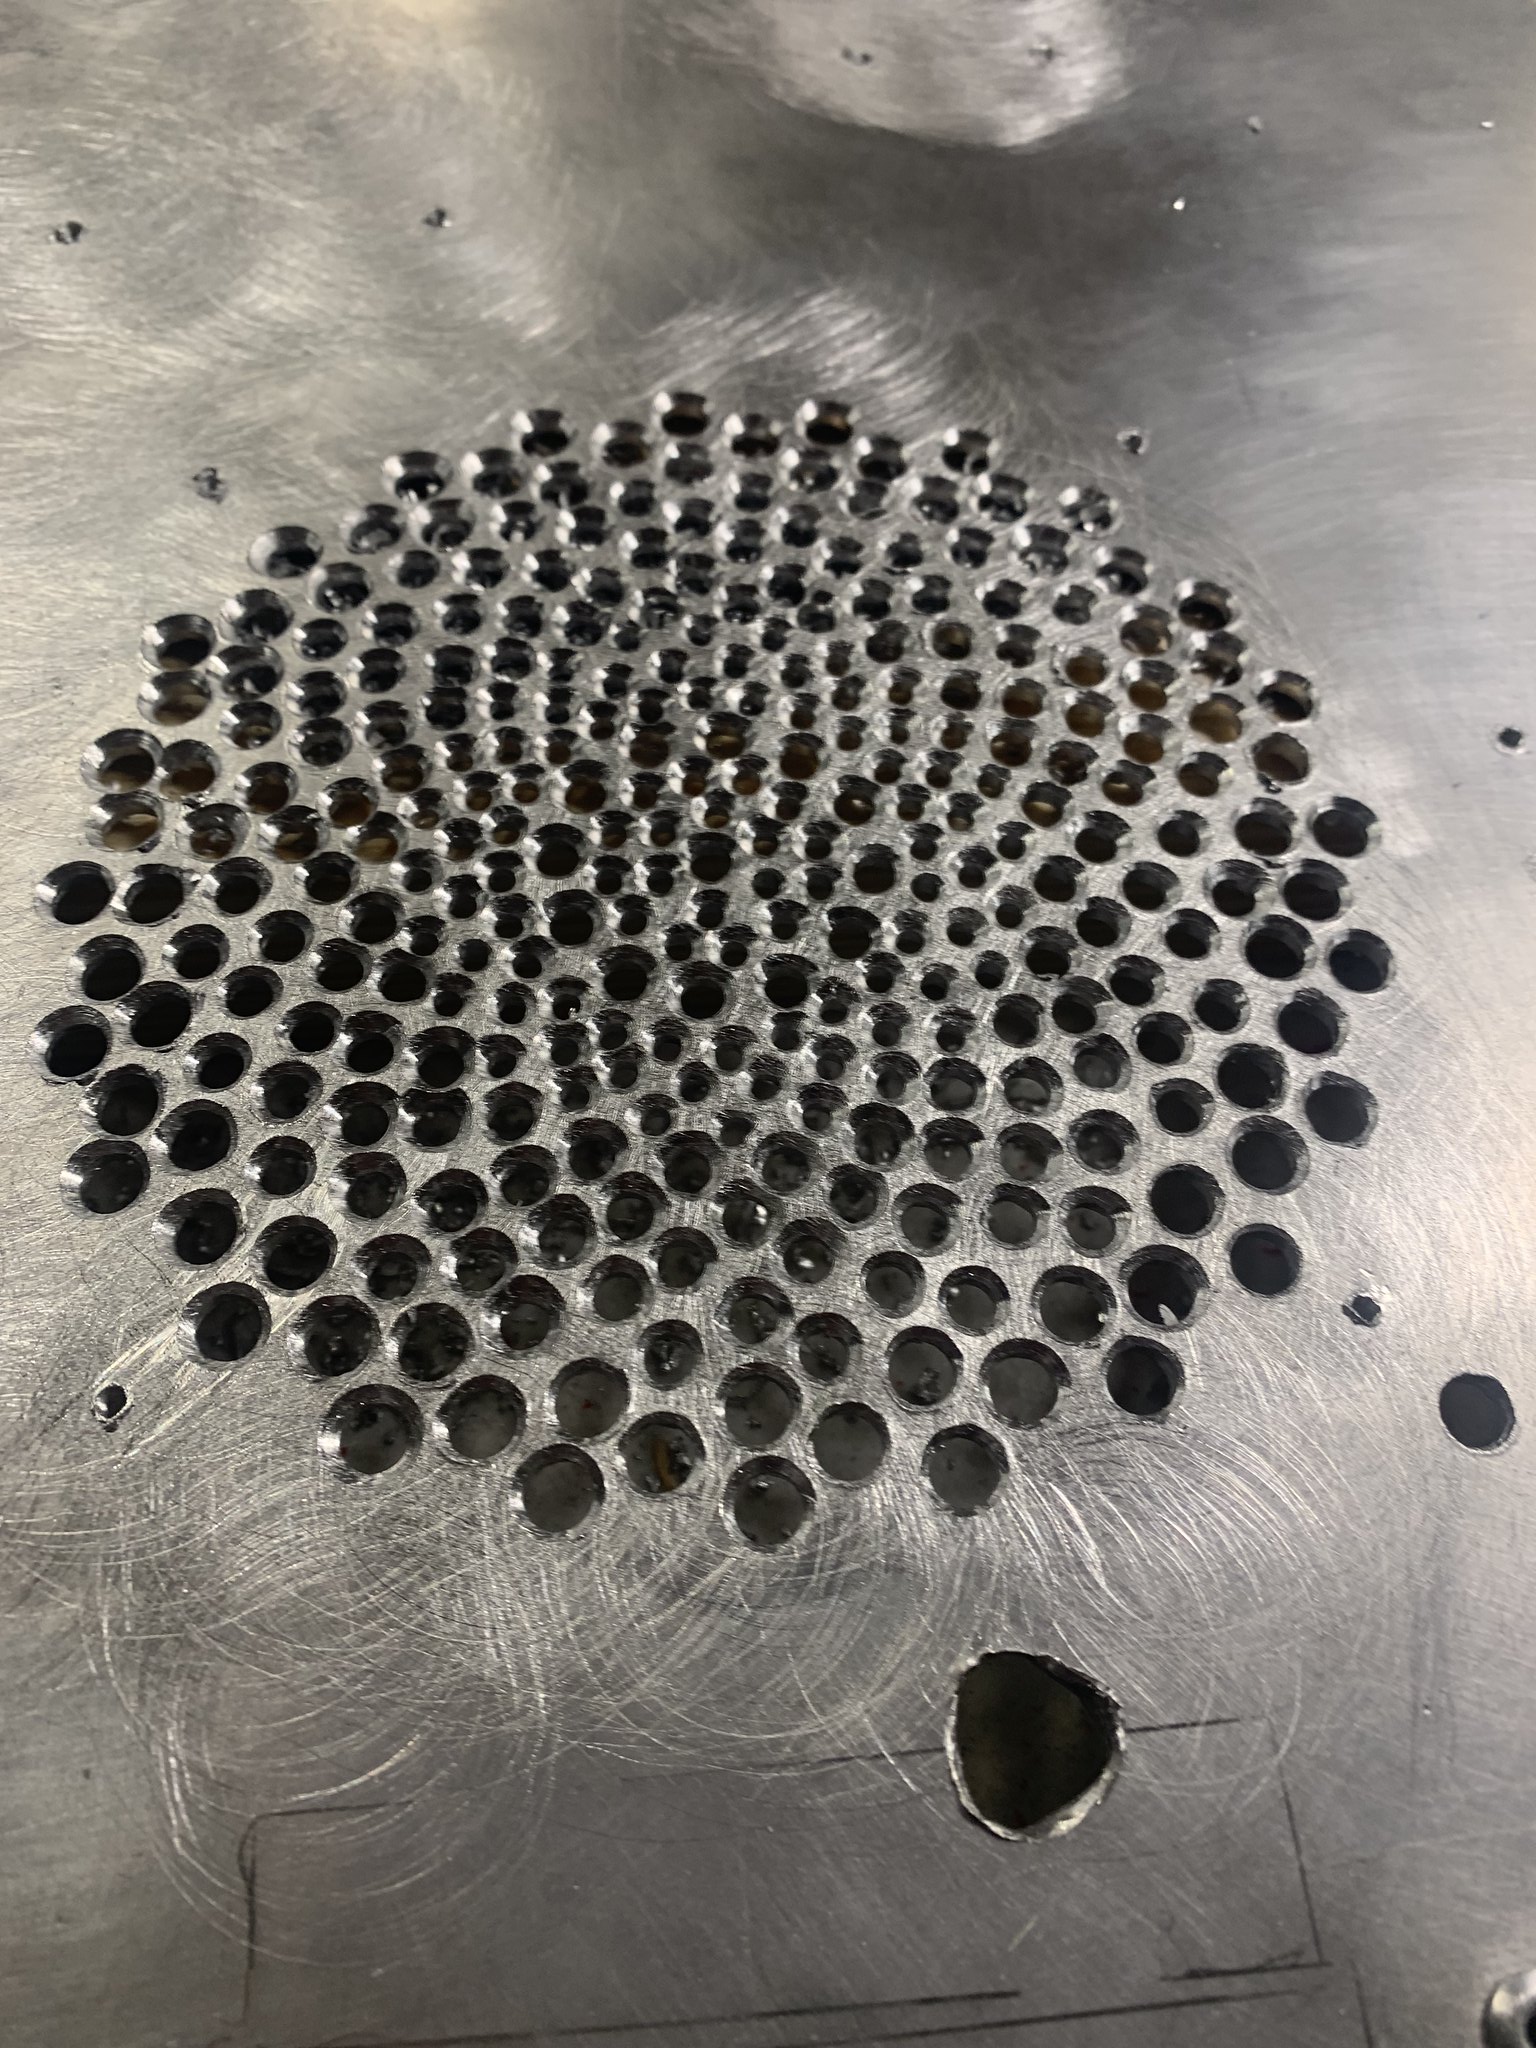
It is hard trying to find a straight edge anywhere on the MB to get measurements off of. Figured the closest I would get was the bottom rectangle and the top so I figured out the middle there and drew a line from the top to the bottom. I measured out from there one both sides to where the holes should be and drew 2 more lines.
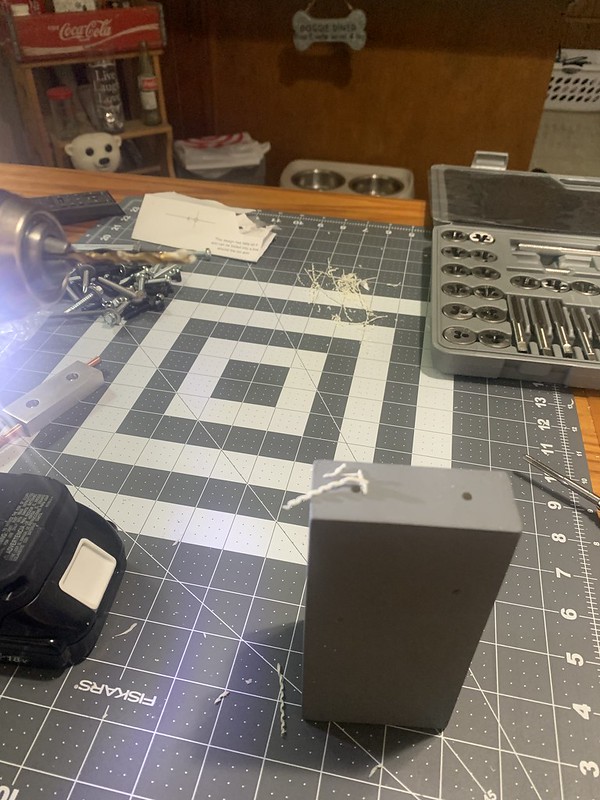
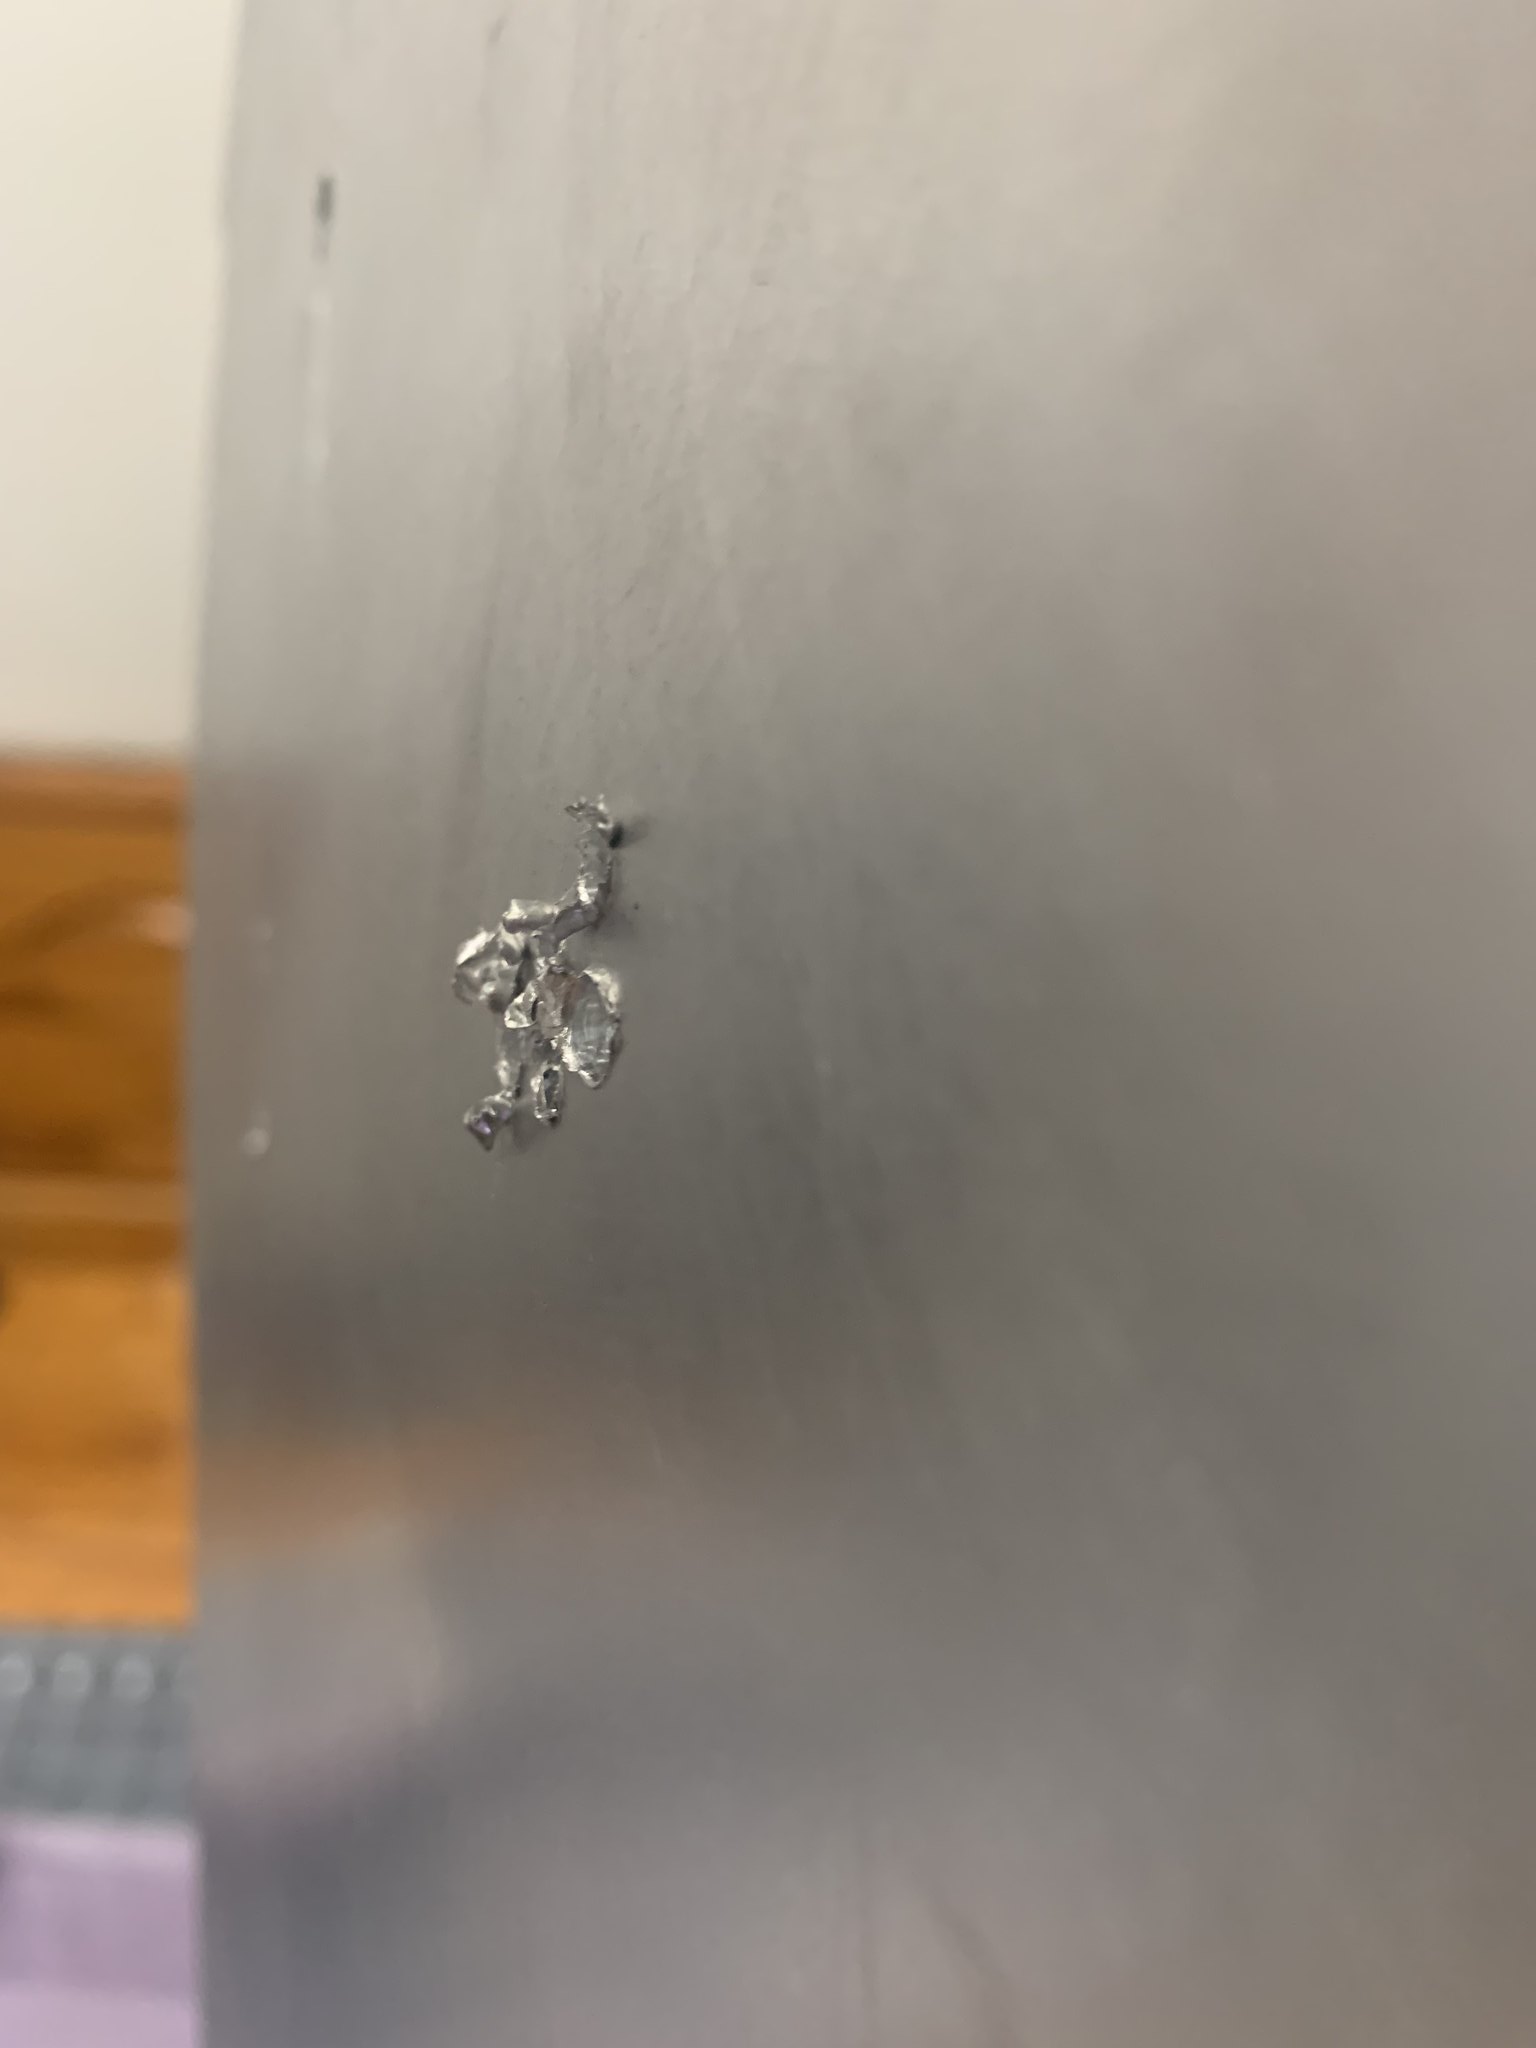
Then I realized drilling on the same side as the mounts would be a pain so I flipped the pack and did it again

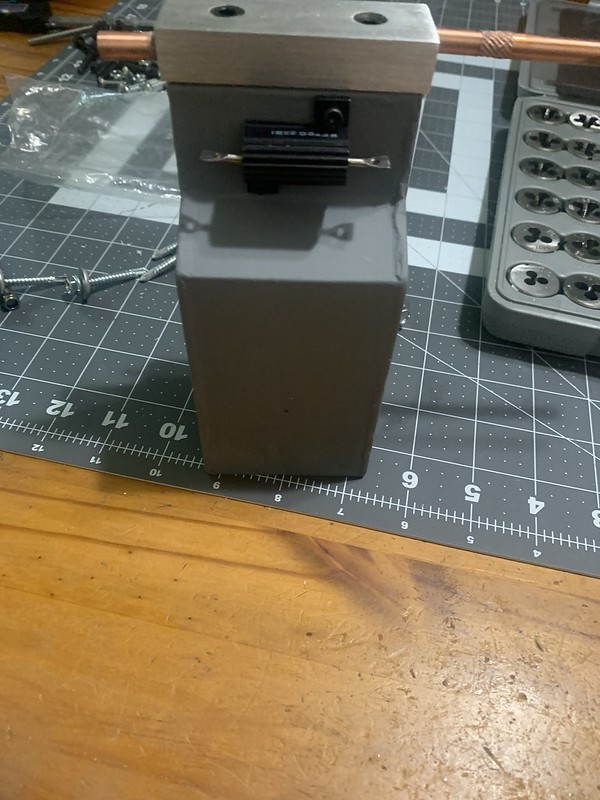
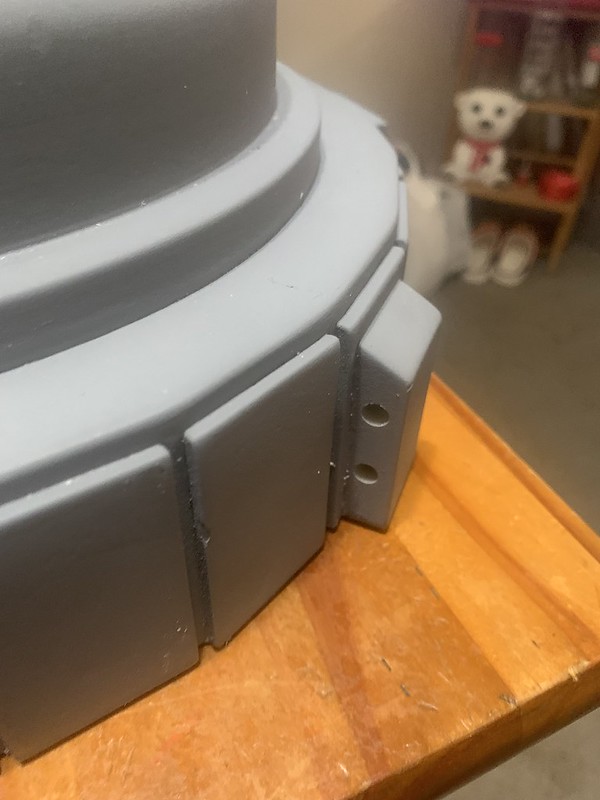
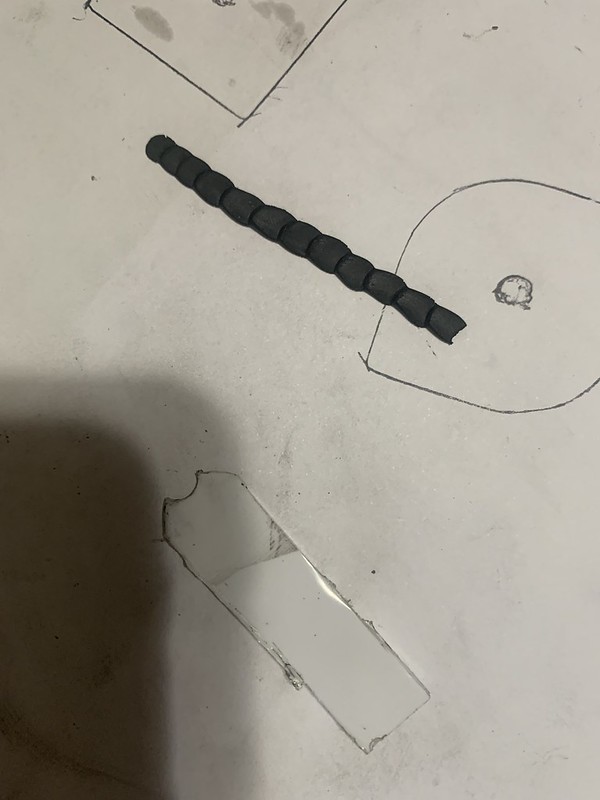
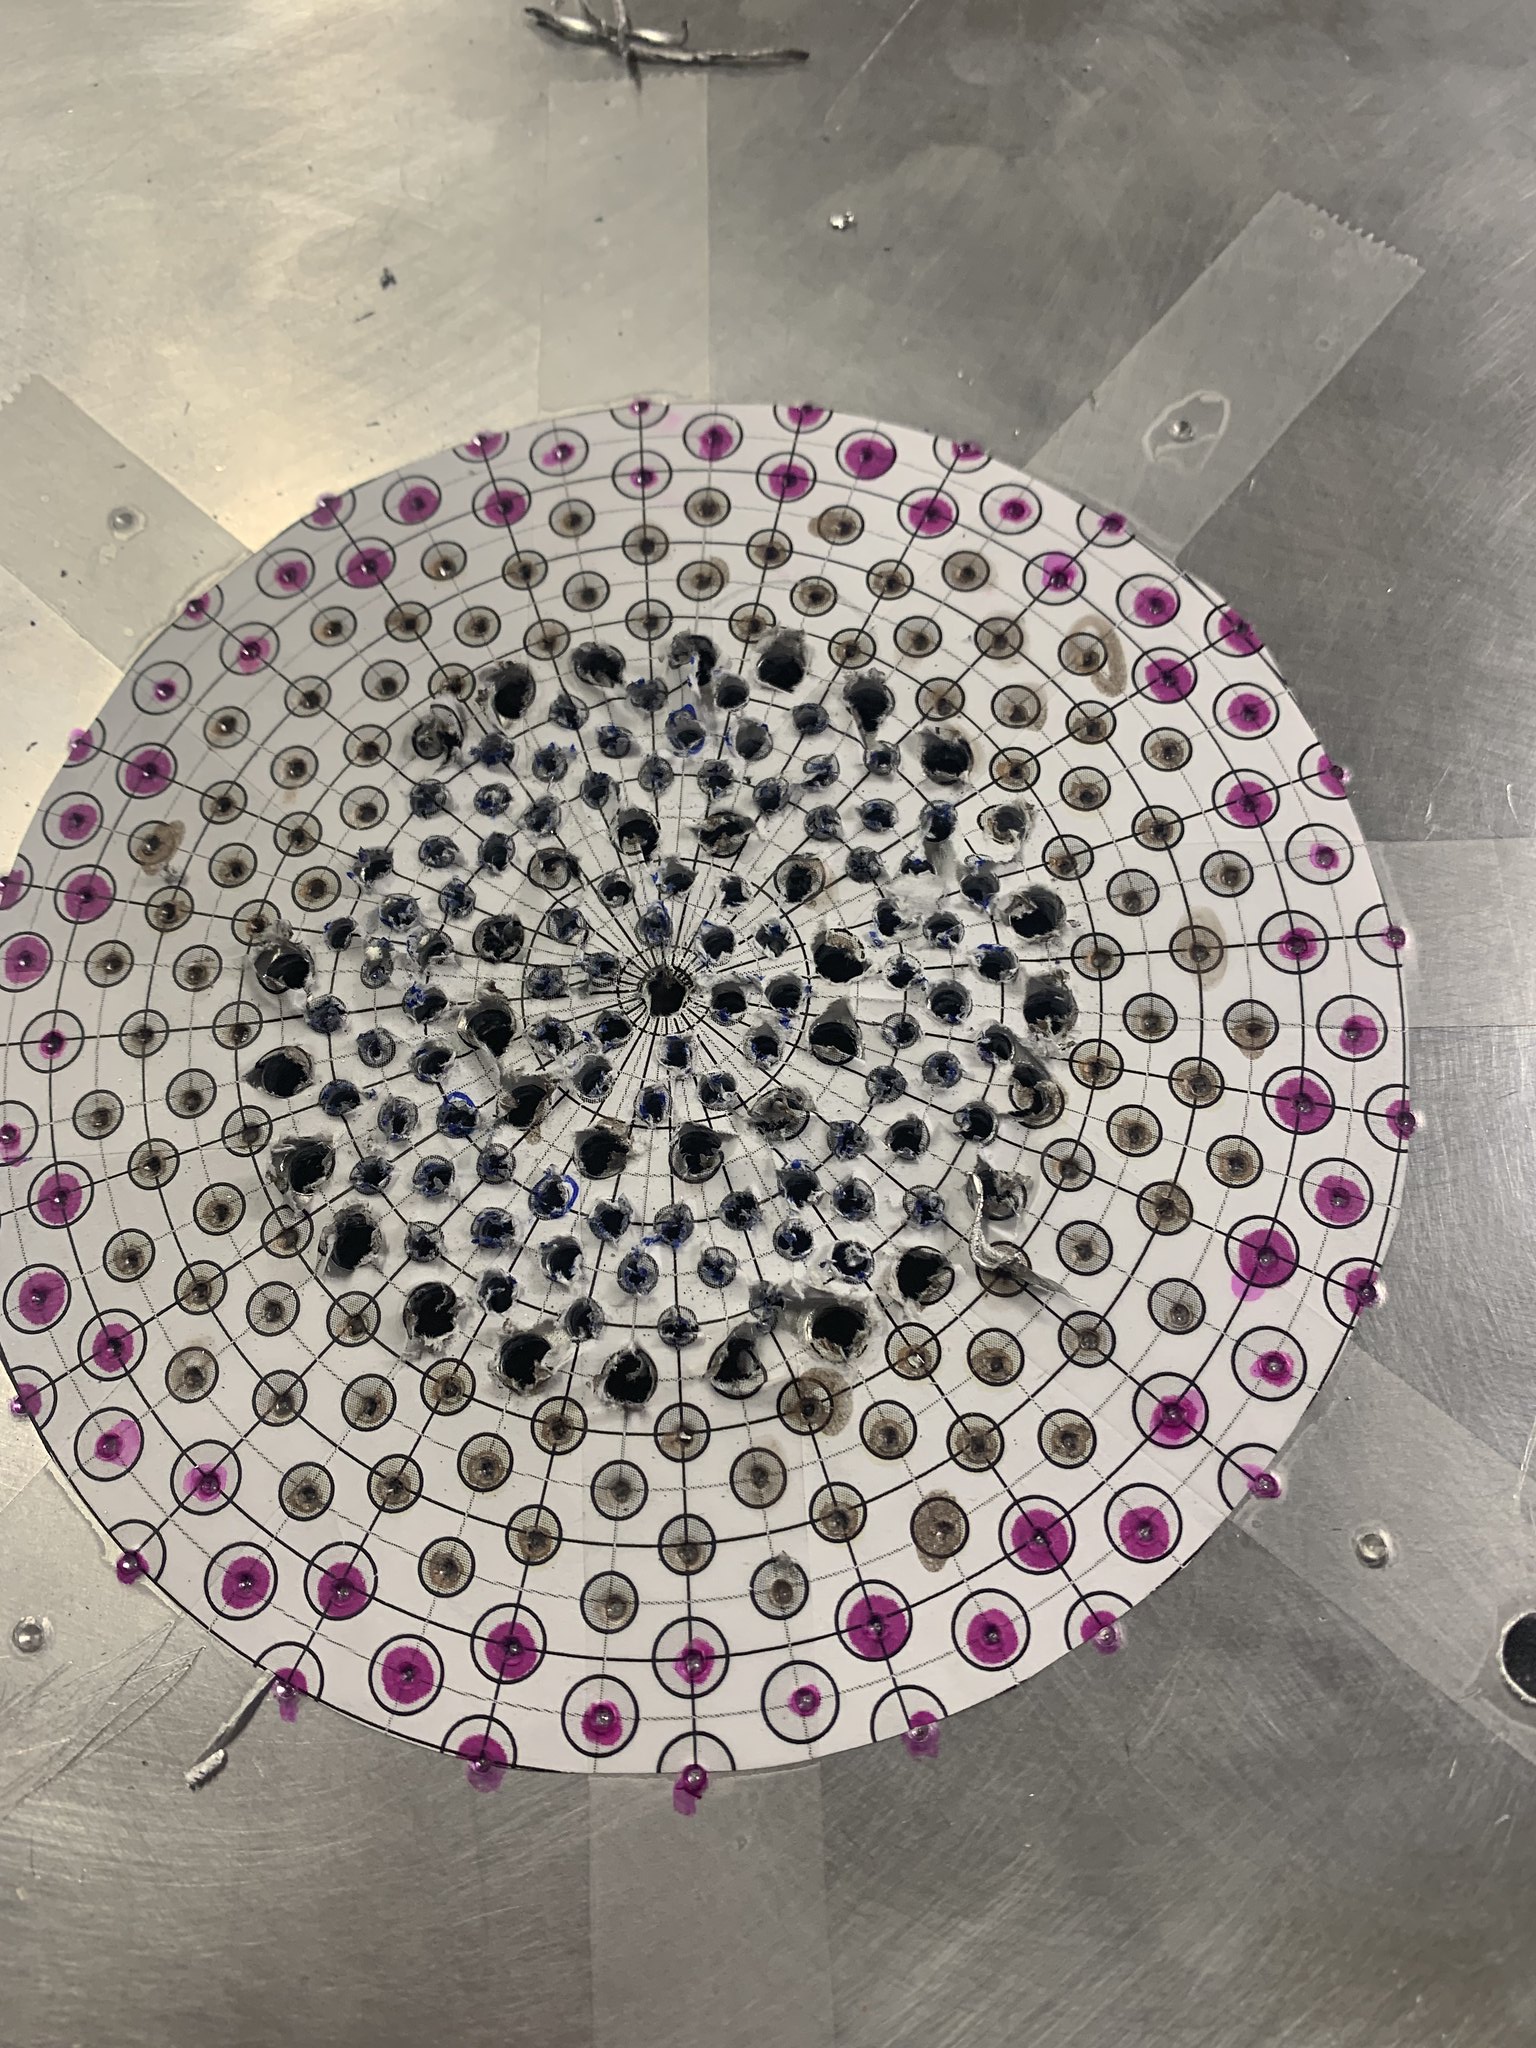
I then did my best to measure how high from the bottom the holes should be and drew a line there. I lined up my frame on the motherboard and traced it out to make sure everything was where I wanted it and used my punch to mark where to drill.

-Rob T.
When you can't run, you crawl, and when you can't do that, you find someone to carry you.


 - By mrmichaelt