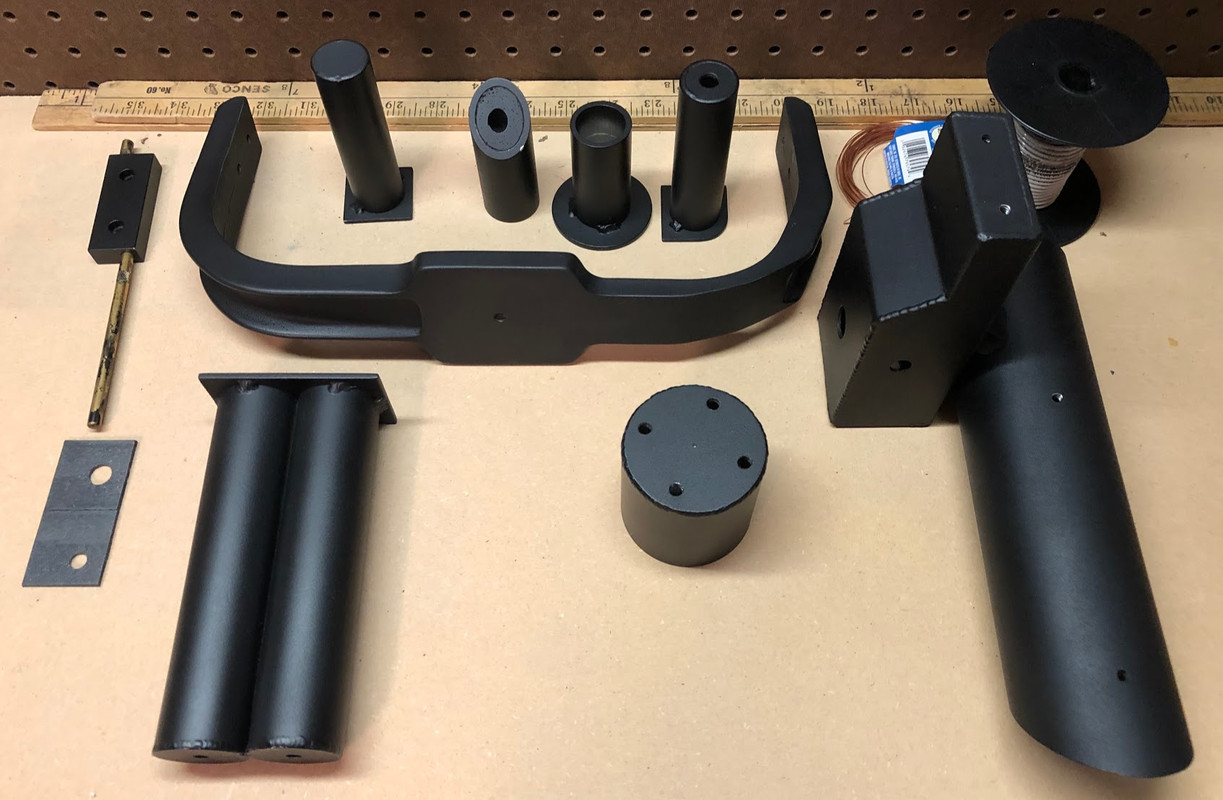
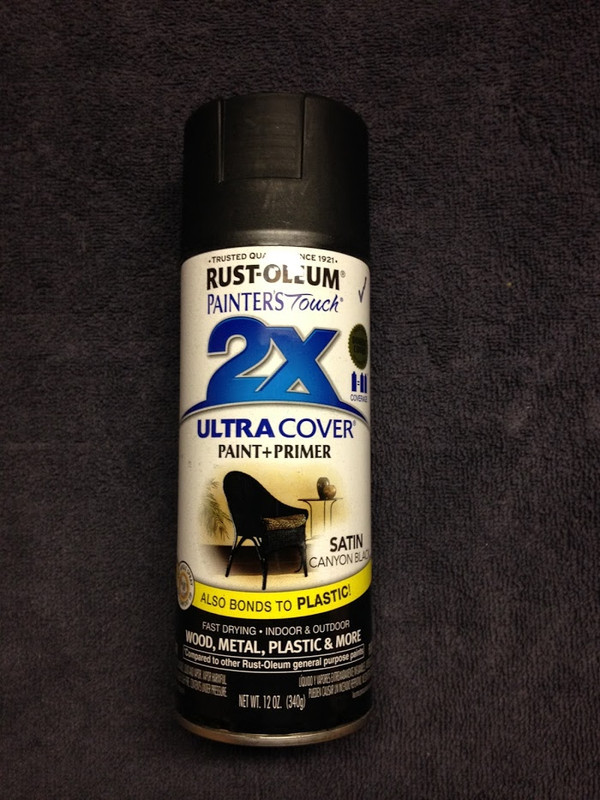
I'm very happy to say that this project is still alive! During my absence, I switched from using satin black paint to flat black after consulting with CPU64. I also tried painting my GBfans shell, but was not happy with the results. Basically, I didn't pay my "sanding dues" and things ended up too rough and uneven. I thought about it for a bit and determined that it just didn't live up to the quality of the rest of my pack work, so a do-over was in order!
Switching to Flat Black After consulting with CPU64 and reviewing Bishop's painting techniques, I changed my aluminum parts painting process to this...
- Light sanding with a 220 grit sanding sponge
- Wipe down part with lacquer thinner just before painting
- Apply two to three light coats of flat black spray paint in one session
- Let dry for 24 hours and rub/buff with a clean cotton rag to bring out the shine
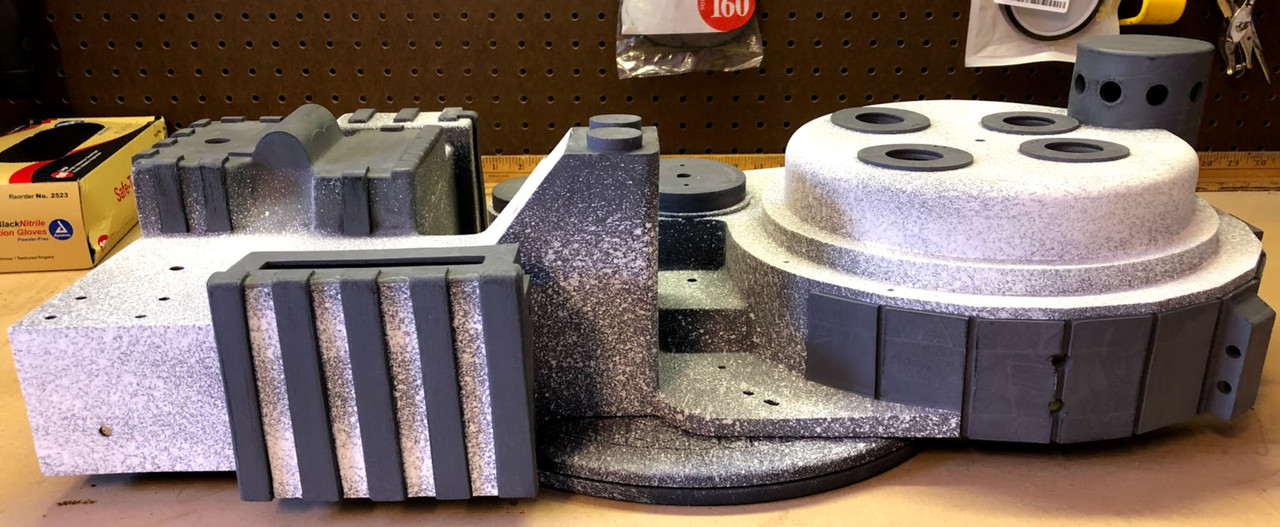
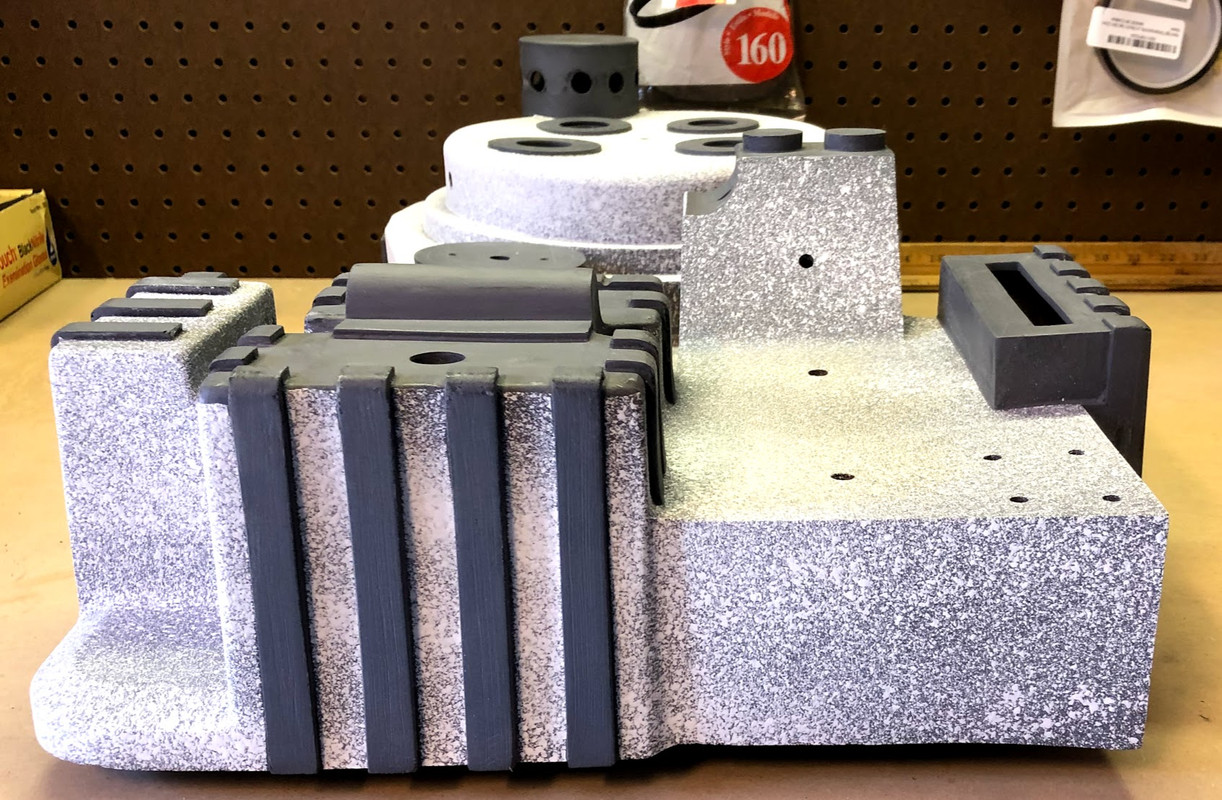
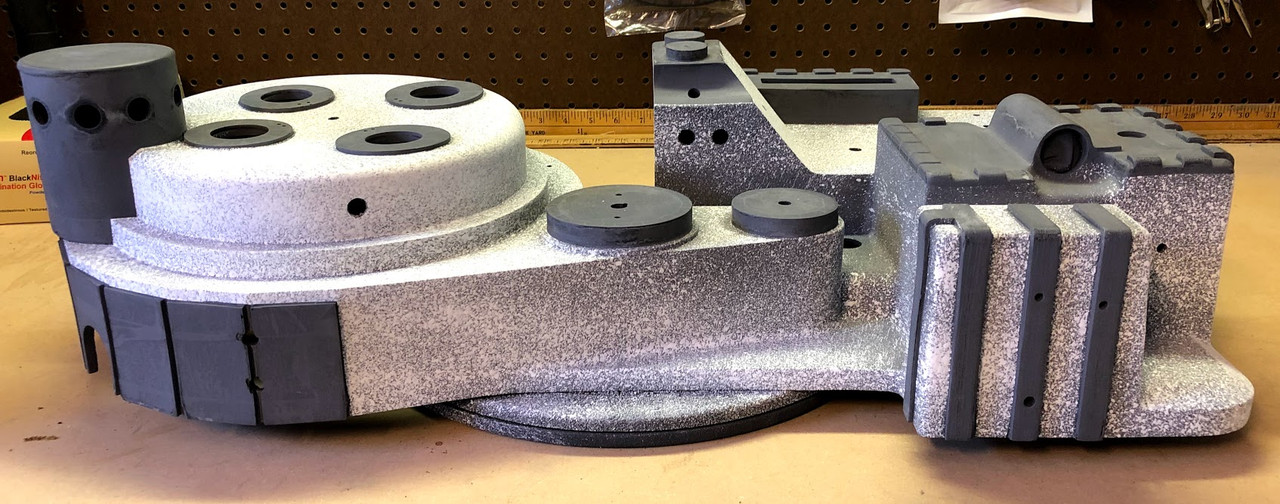
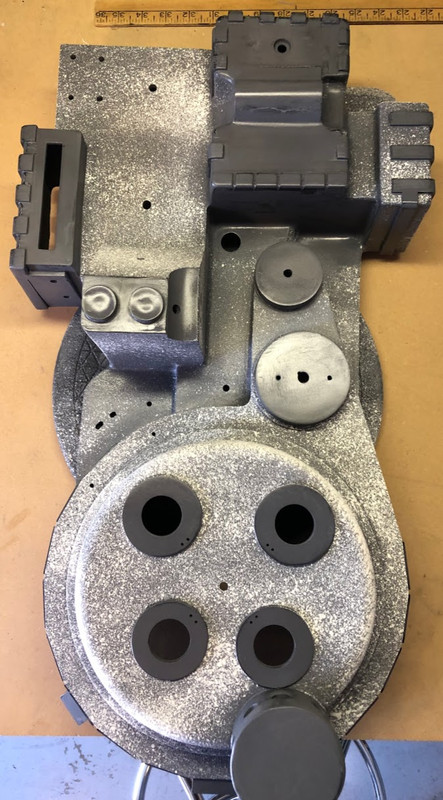
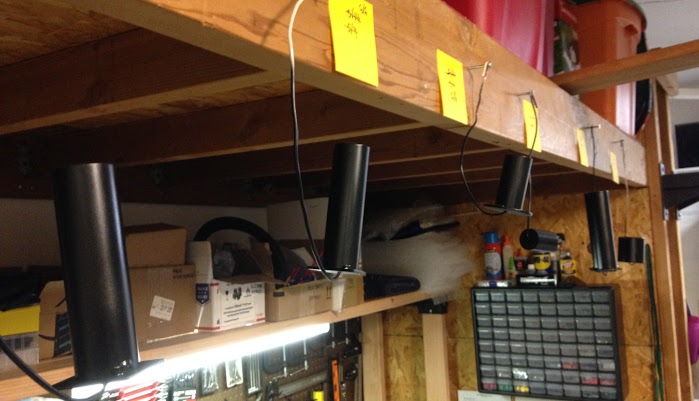
I basically did the same thing with my resin parts, minus the lacquer thinner wipe-down. After a bit of painting, I had all the pack parts done...
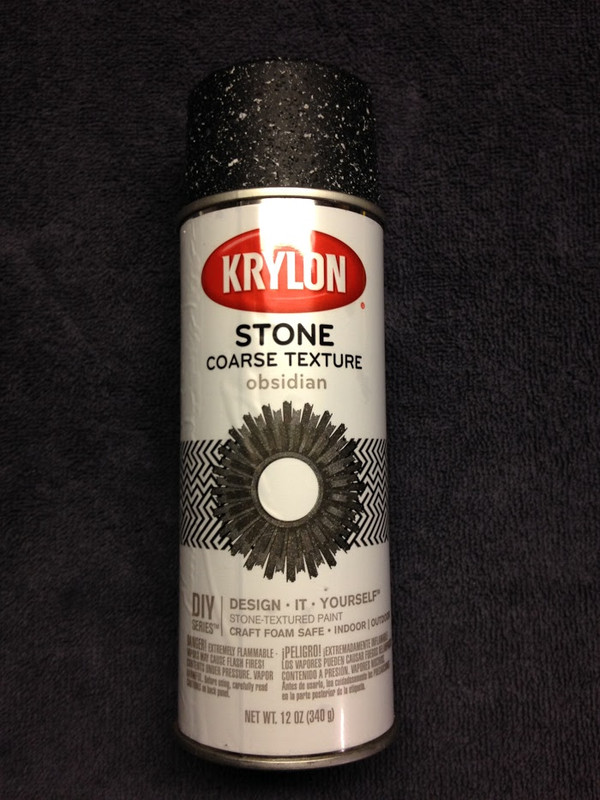
A shot of the flat black I used (Rust-Oleum Professional High Performance Enamel) based on Bishop's recommendations...
 Removing Old Paint and Priming
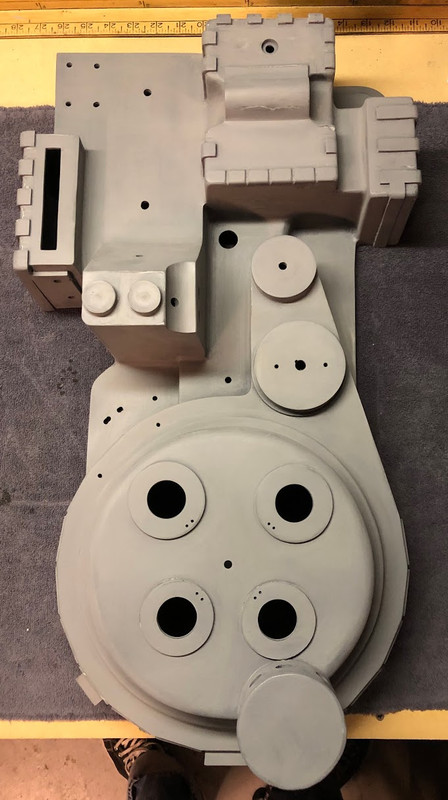
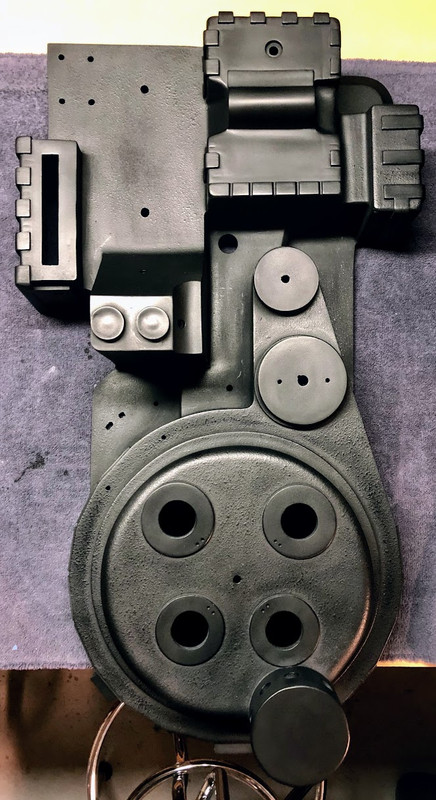
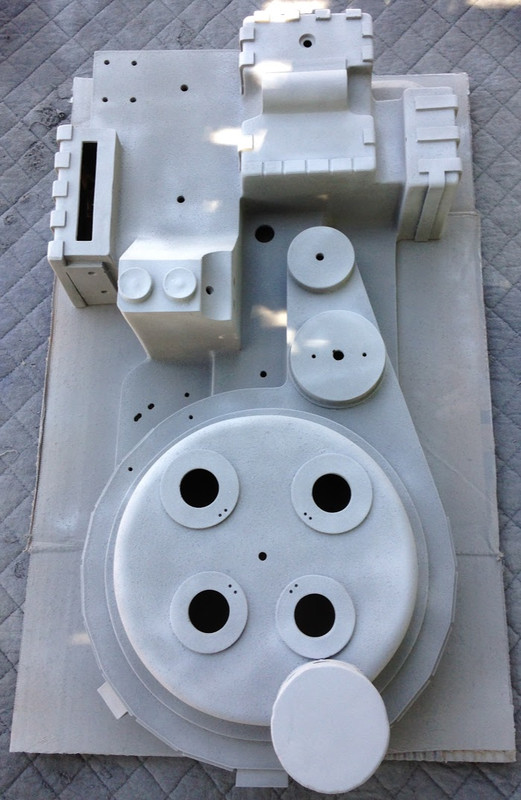
 Once I decided to redo my paint job, I sanded it down using some 200 grit sand paper. This was the most tedious part, but I broke it down to multiple session over a few weeks to make it more tolerable. After that was complete, I really wanted to jump into priming, but I sanded it again using 400 grit to really smooth out the surfaces. NOW I was ready to prime. And prime I did! To keep the prime "fuzzies" down, I applied the Rust-Oleum Gray Primer when the temps were in the high 60's and kept the nozzle around 8 inches from the surface (as best I could with irregular shape of the shell). In the end, it turned out SO much better than before...

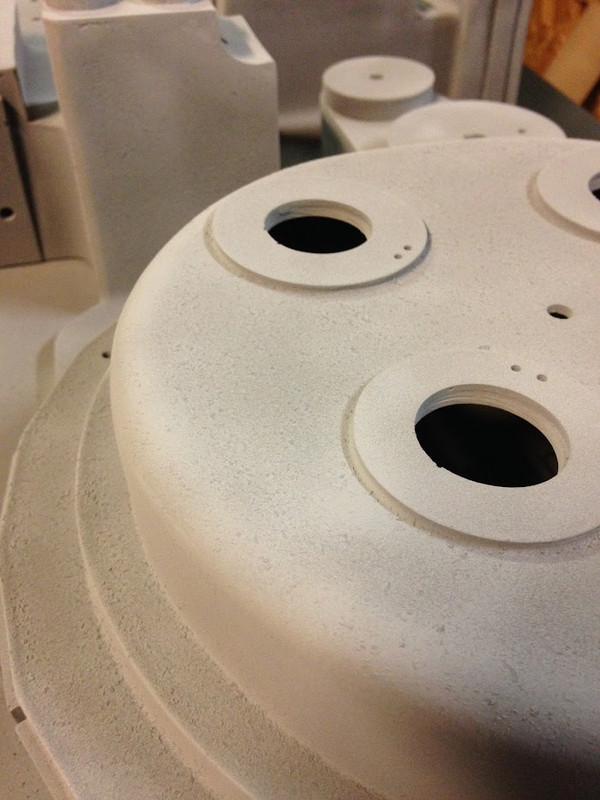
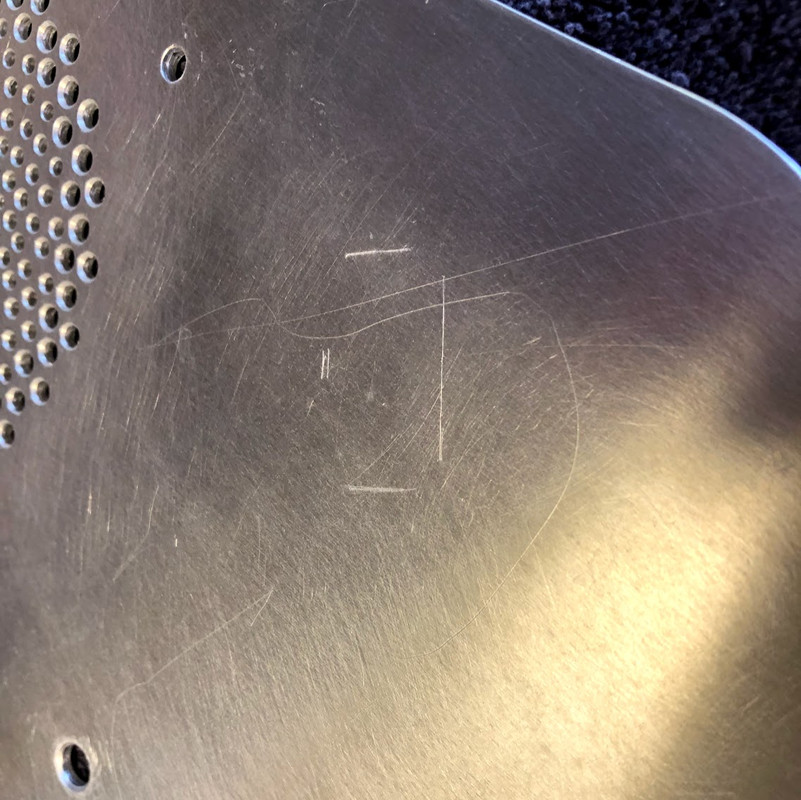
Just to be safe, I lightly sanded the shell again using 400 grit and ended up finding some air bubbles...
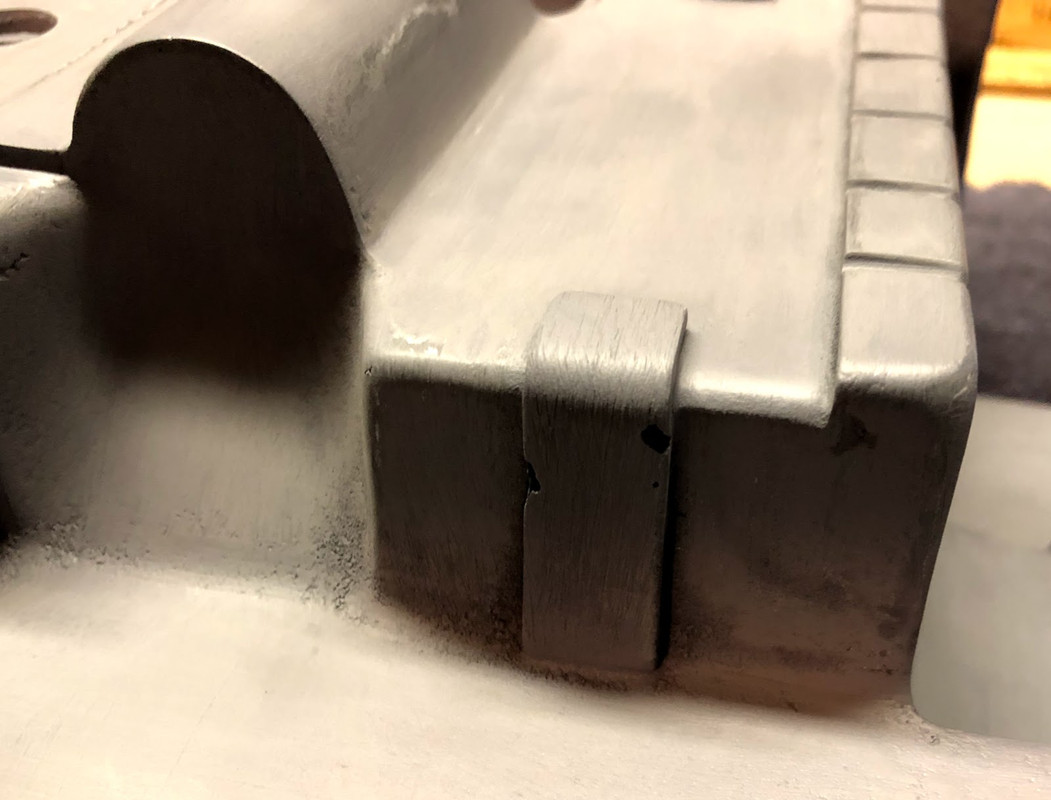
...but a little black MilliPut and sanding made for an easy fix.
Here's the shell after a good smoothing sand...
 Texturing (Second Attempt)
 After putting in all the sanding work, I figured I might as well give texturing another try. This time I used pchrisbosh1's
HOW TO TEXTURE YOUR PACK SHELL (TUTORIAL) tutorial a shot. I wanted this get this right, so I bought some cake pans and tried the technique a couple of times for practice. The only thing that I ended up changing in the process was to not apply the second coat of primer after the lacquer. There didn't seem to be a good way of sanding down the primer in the textured areas, so I skipped that step without issue.
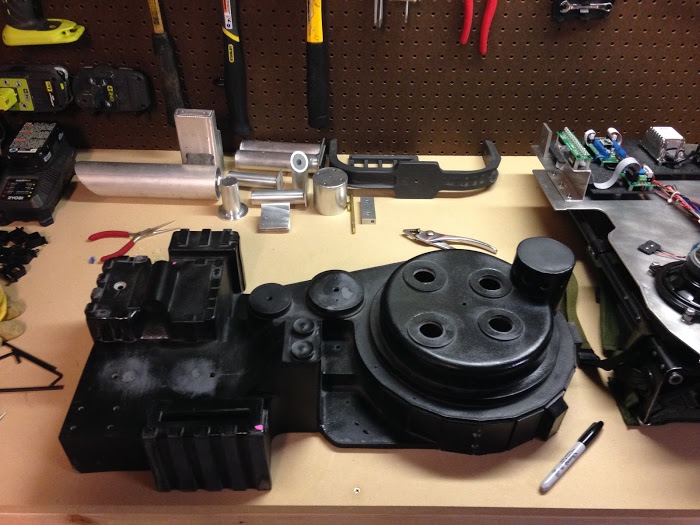
First, I got the shell masked (pic taken half-way through, see posts above from my first attempt for complete masking)...

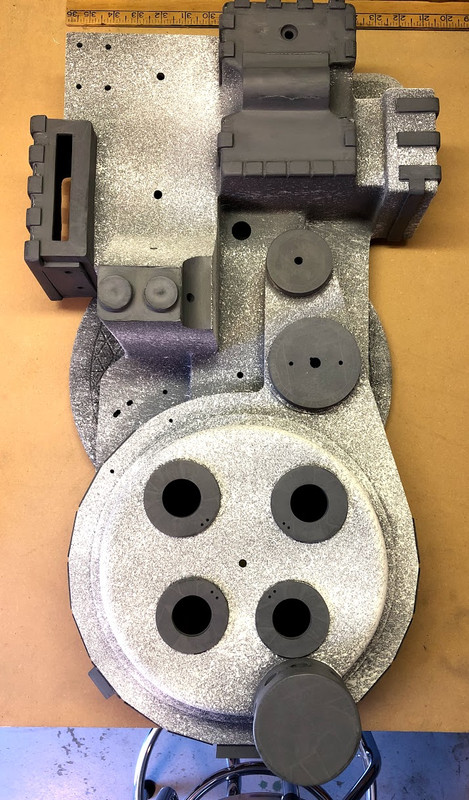
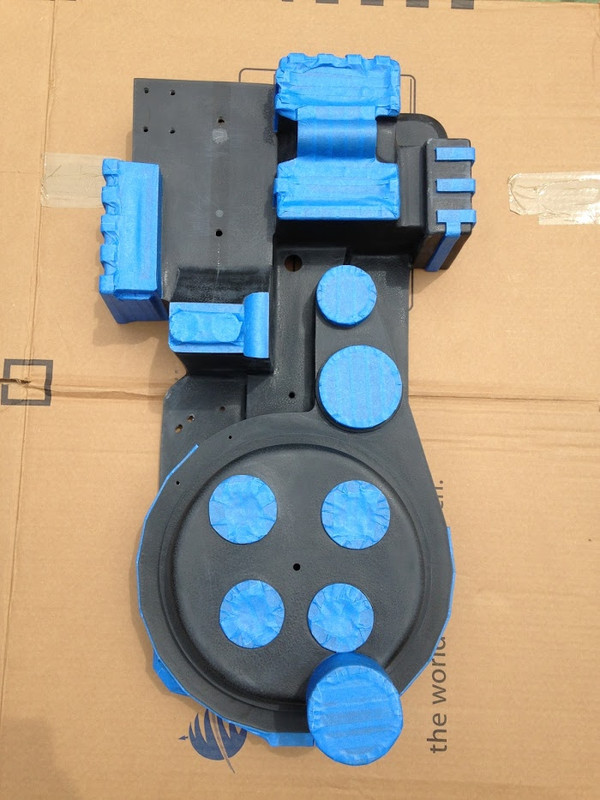
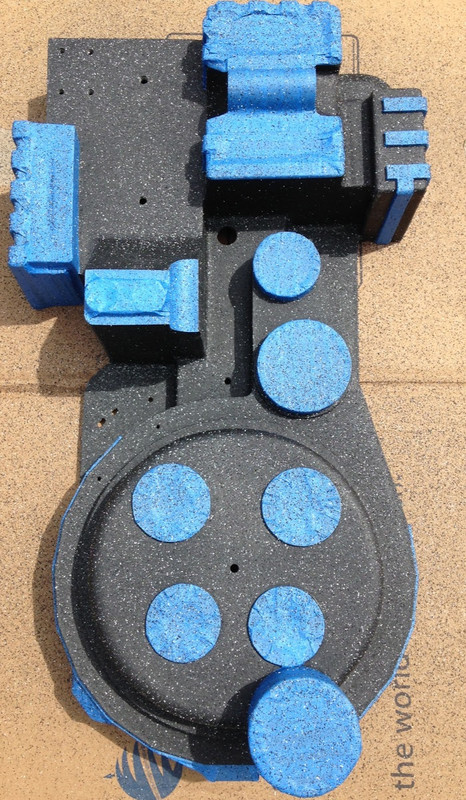
After applying the texture, I got some pics from all angles...

After applying the lacquer...
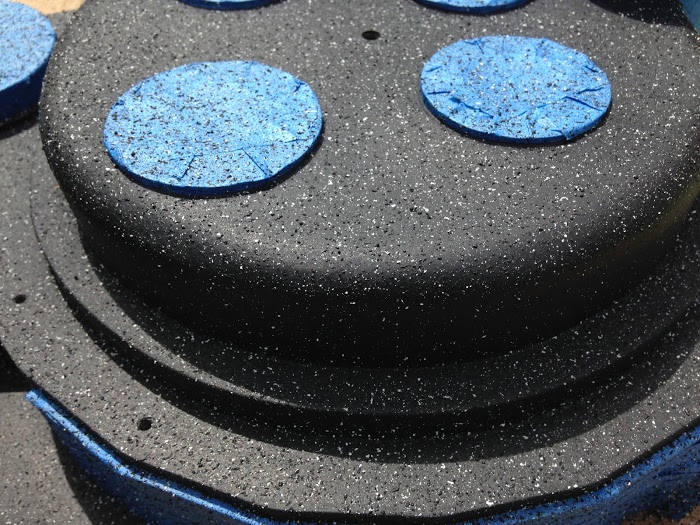
I did a light sanding of the non-textured areas, applied a number of light coats of flat black in a single session, waited 24 hours and wiped/buffed the shell just like I did with the aluminum parts. Here is the result...
It's completely dry, but I'm going to let it cure a few weeks before attaching any parts. In the meantime, I'll get the motherboard painted before moving onto painting the thrower. That's it for now!


 - By pchrisbosh1
 - By tylergfoster