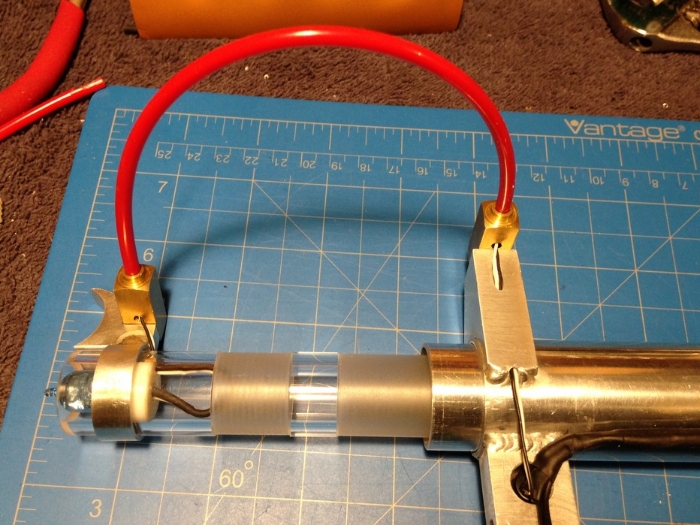
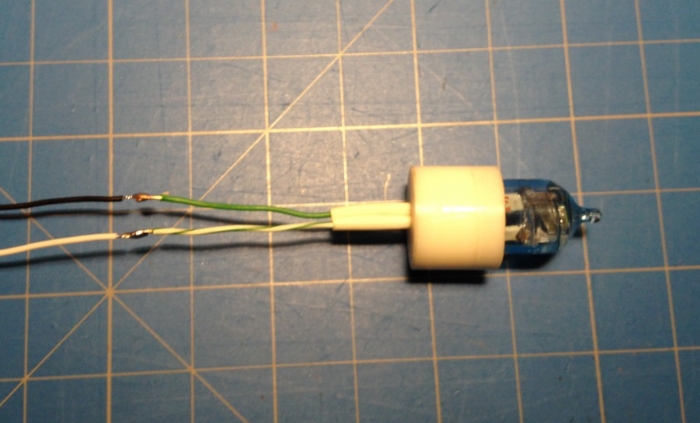
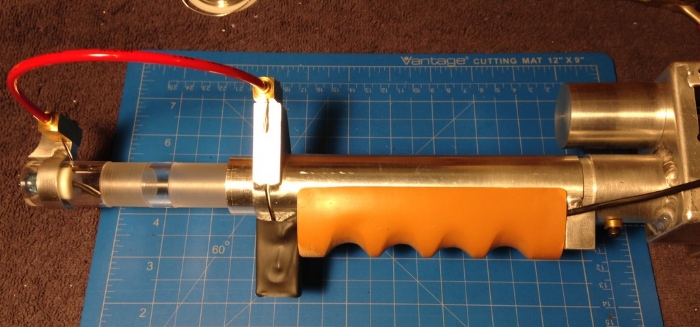
This post may contain an affiliate link that helps support GBFans.com when you make a purchase at no additional cost to you.My red tubing ended up being 8 3/4" in total length, with about 7 1/4" of it visible. Here it is with the "flash bulb" wiring all set...
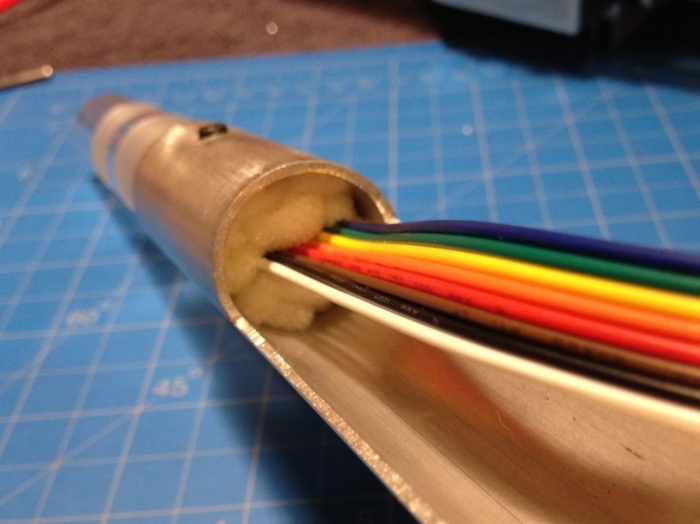
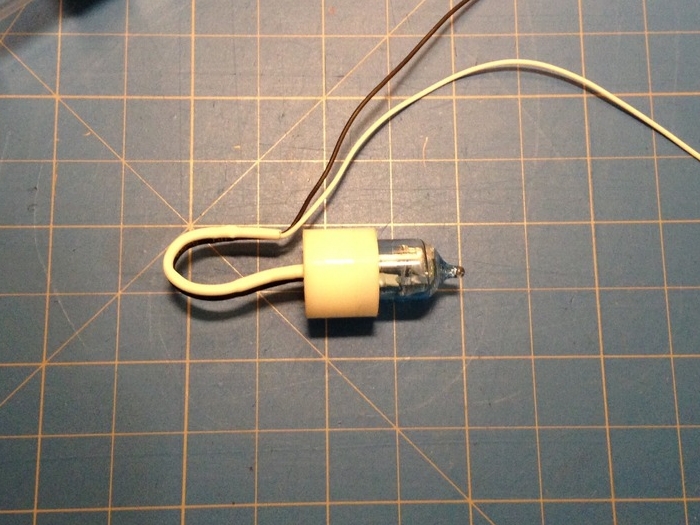
Backing up for a moment, I forgot to post pictures of my installed Spongeface WandTip Expansion kit. I used my go-to solution for keeping things stuffed into other things - craft foam! Simple and effective, it keeps the LED board pressed up nicely against the bottom end of the acrylic tip.

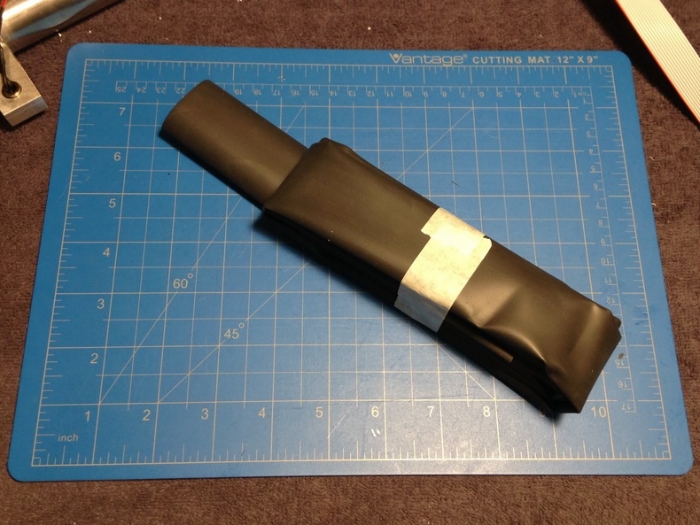
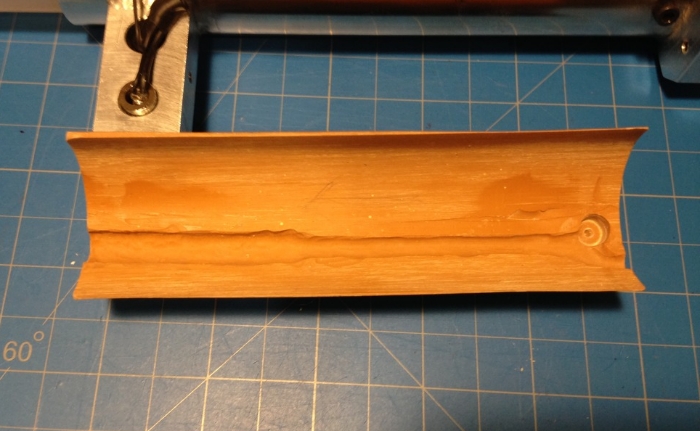
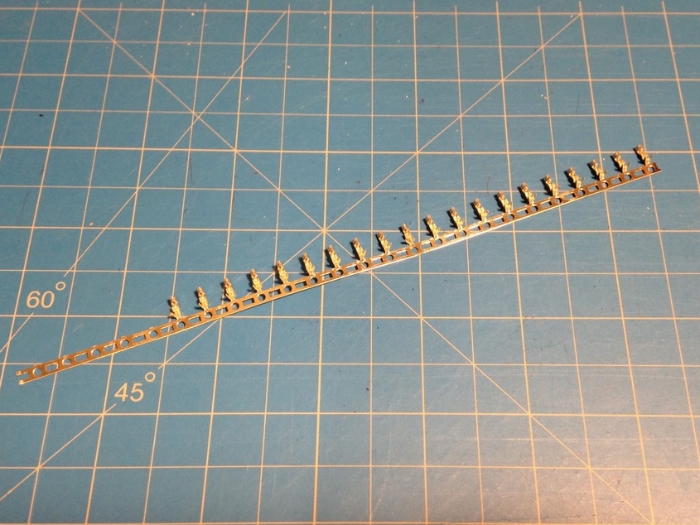
Next up, I wanted to try getting the heat shrink just right on the ear. Since I'm going to have to disassemble to paint, and I knew it would take a number of tries to get right, I went ahead and got
4 feet of 1" diameter heat shrink...
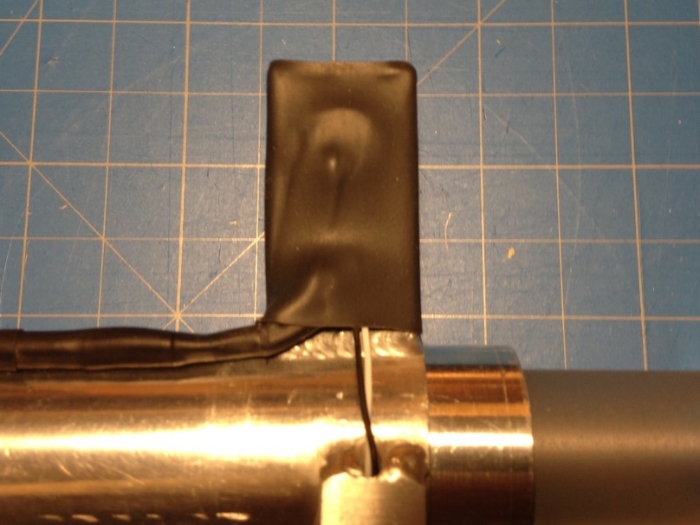
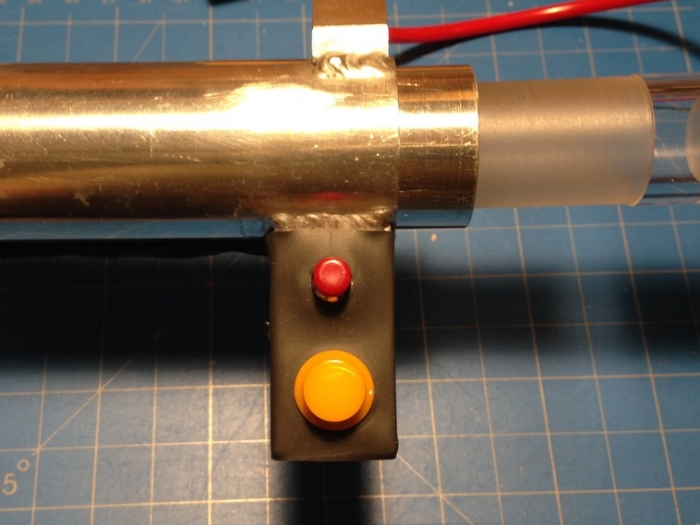
Things I learned from applying 1" heat shrink to the ear...
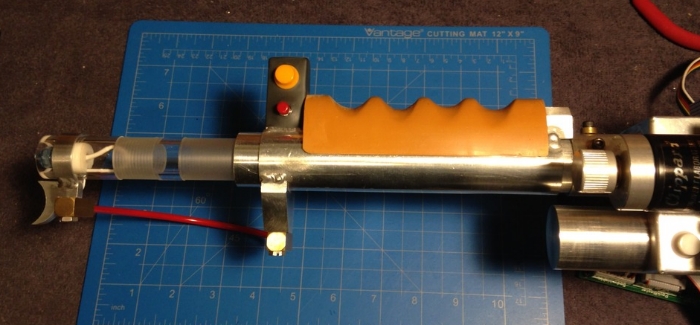
- Making holes in the heat shrink for the push button and hat light socket using a hole punch works really well
- The red push-button will start to melt if you are not careful (orange hat light seems to be pretty heat-resistant)
- After shrinking around the ear, use a smaller screwdriver to poke out holes for the grip bolt
- It's good to be patient
A number of tries (and a new red push-button) later...
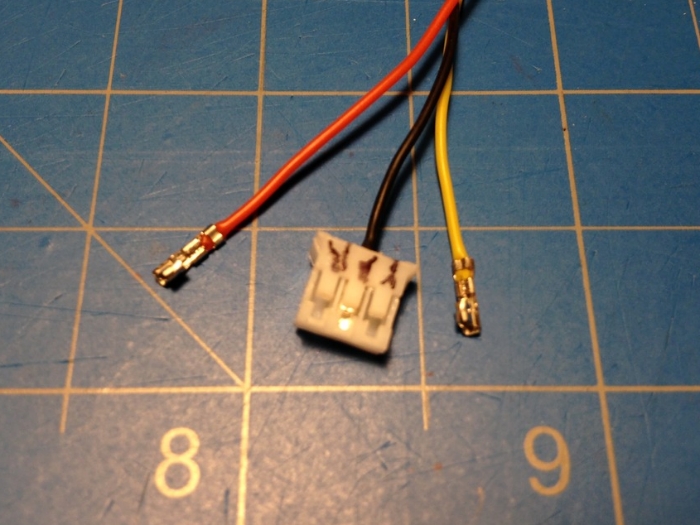
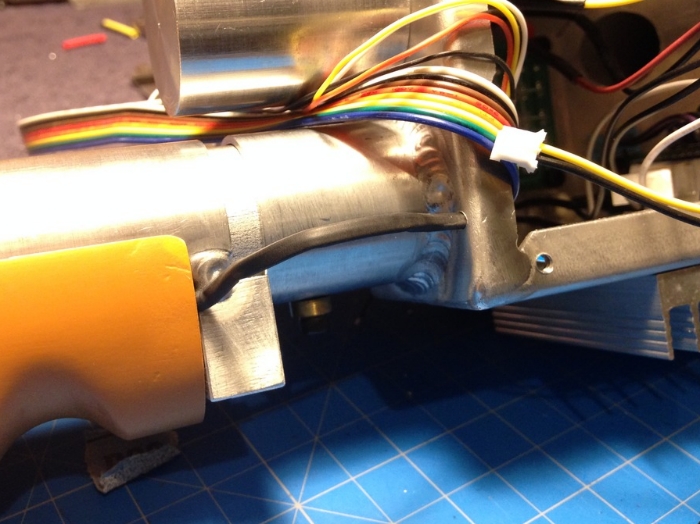
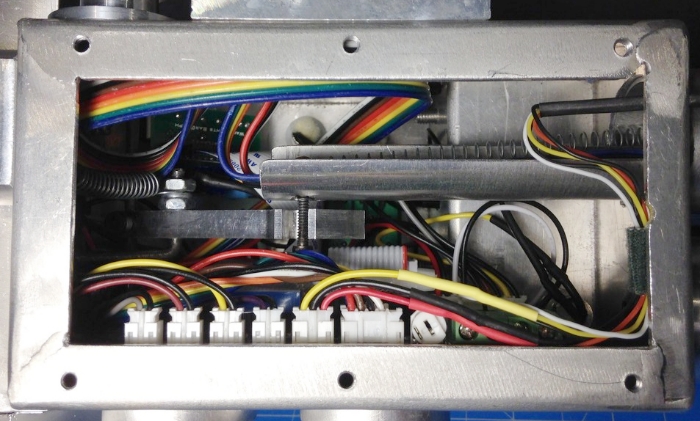
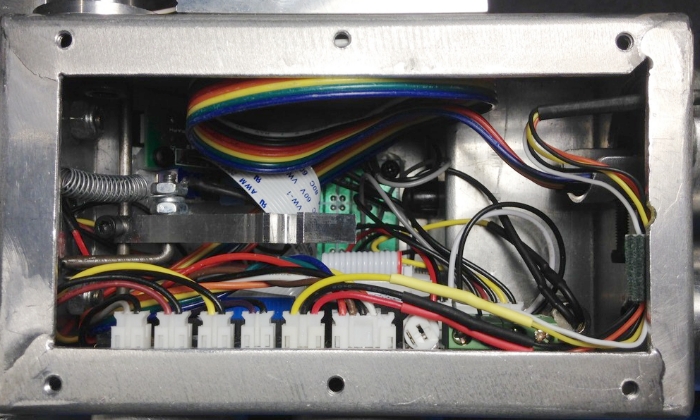
Now, getting back to the wiring, I replaced most of the red, black and yellow wiring on the Ear light/switch connector with some more silicone covered wire. After slicing that in, I added some heat shrink to keep the wiring under the handle nice and neat...
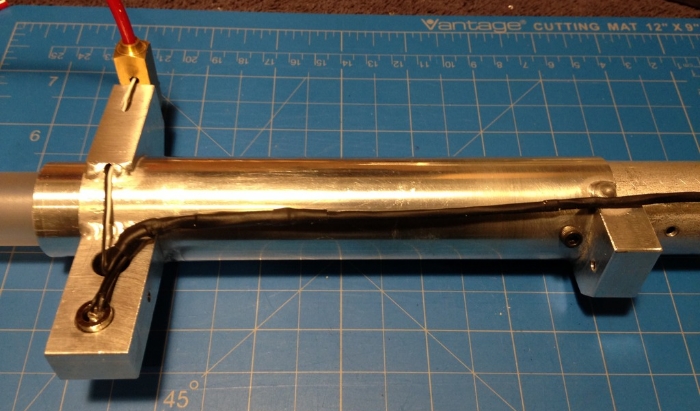
It was right about here I started puzzling out how I was going to remove the bulb wiring without cutting anything. I quickly realized there was no way around it. I was going to have to cut those bulb wires to remove for painting, but no big deal


 - By hawkbatsquadron
 - By mrmichaelt