Now for my update...
This time I decided to install my beautiful aluminum Booster Tube. This one was made by
Ejgunth87 and you can find the sale thread
here. He cuts the length and angle per order, so you can get a really nice fit.
I got started by looking at reference picks and other builds to mark a point on the top of EDA to act as the center line of the Booster Tube. I then drew a straight line down the angled side of the EDA using a 6" combination square (you could probably use a larger square, but the 6" was the perfect size to work with)...
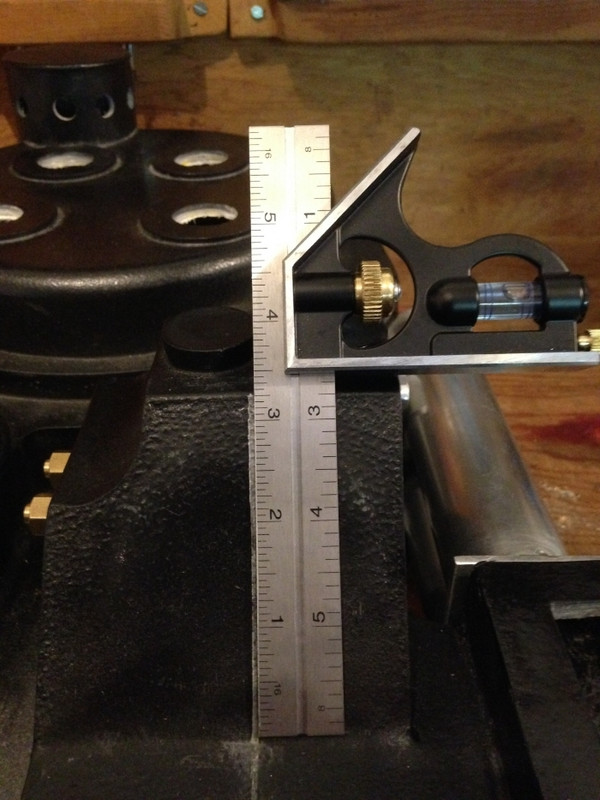
Next, I used a 12" combination square to draw a line up the bottom side of the EDA...

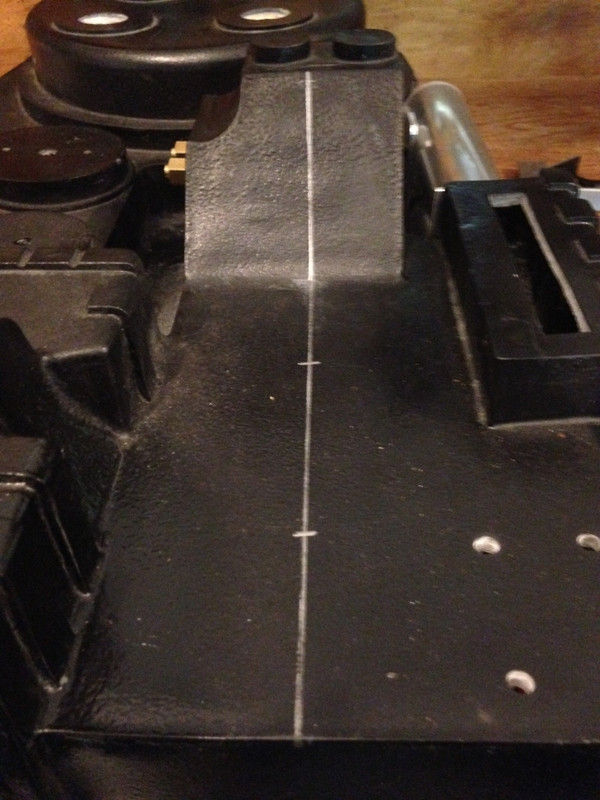
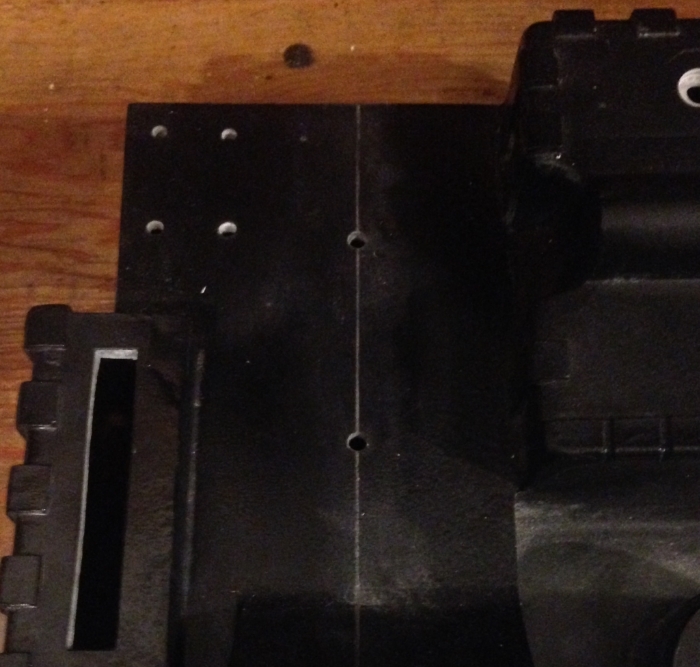
After connecting the two lines, I marked my drill points for the mounting holes (I just picked points that looked good to me)...
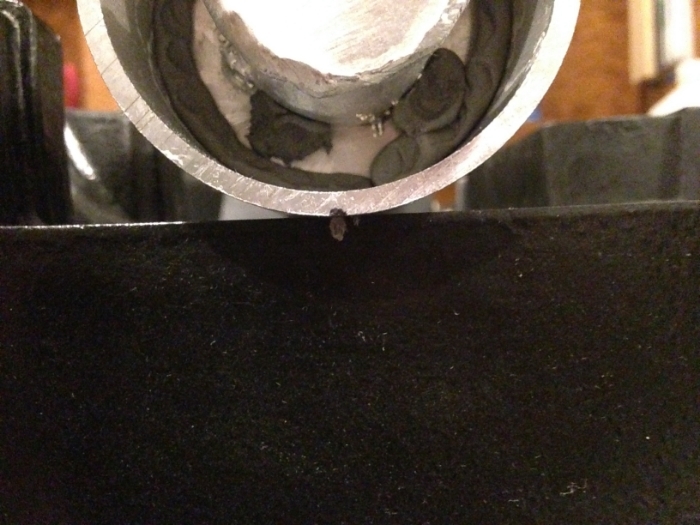
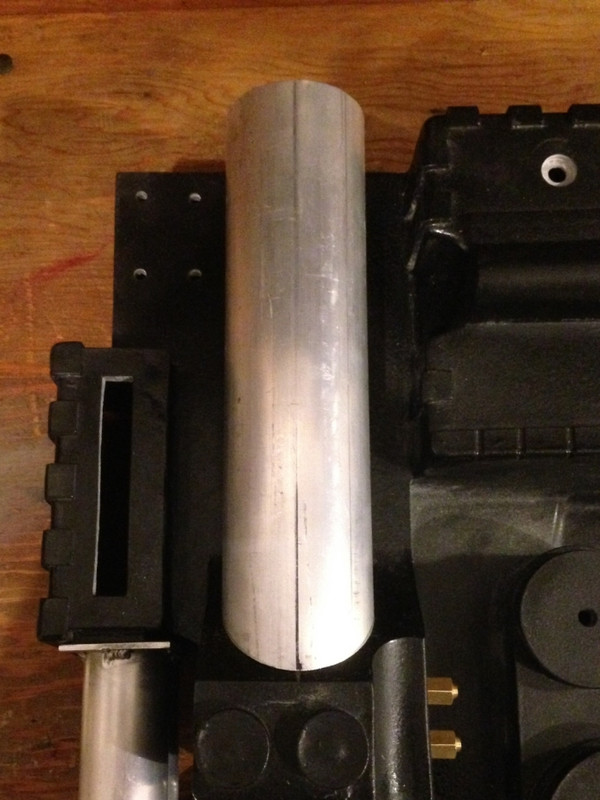
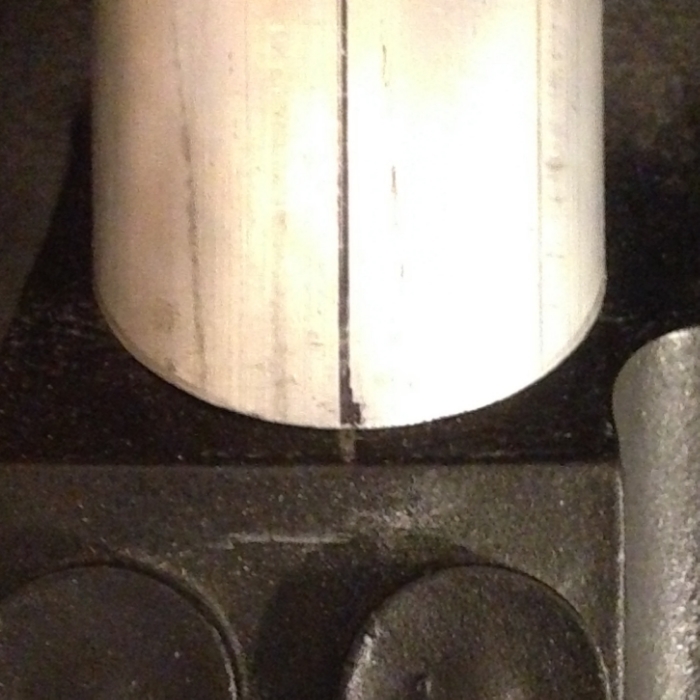
Then, I placed the Booster Tube centered (I pretty much eyeballed this) on the line and marked the "bottom" of the tube where it met the line on the shell...
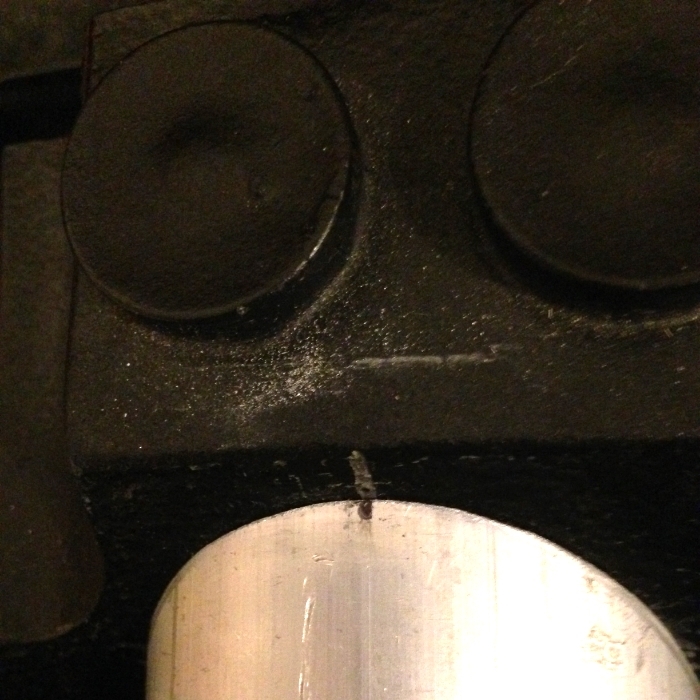
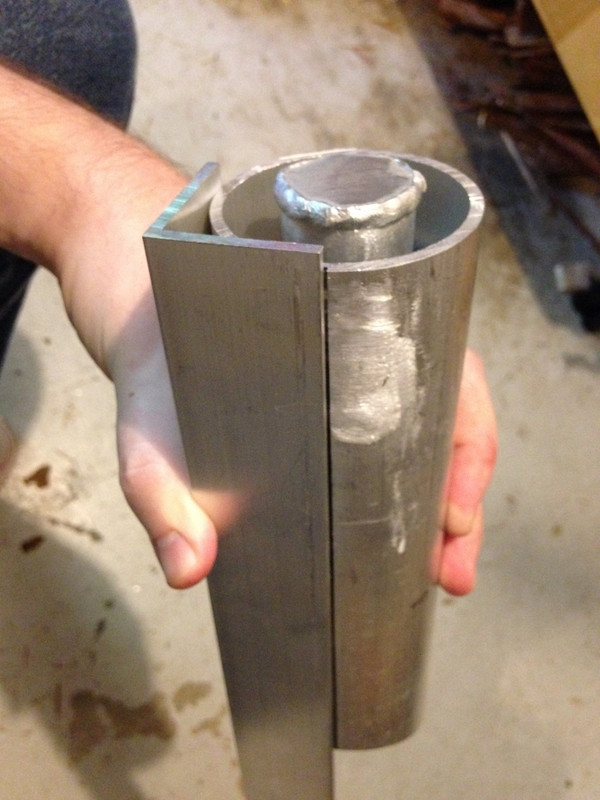
That was followed by marking the "top" of the tube the same way (ignore my ugly use of JB Weld Steel Stik to reinforce the Booster Plug)...
The next step was to mark the top center line ( used to line up with the Booster Frame a little later) and the bottom center line (used to line up the mounting holes) using a 90 degree angled aluminum bar like this...
Once I had the lines drawn, I put down the Booster Tube and drilled the 1/4' mounting holes in the shell using a step bit...
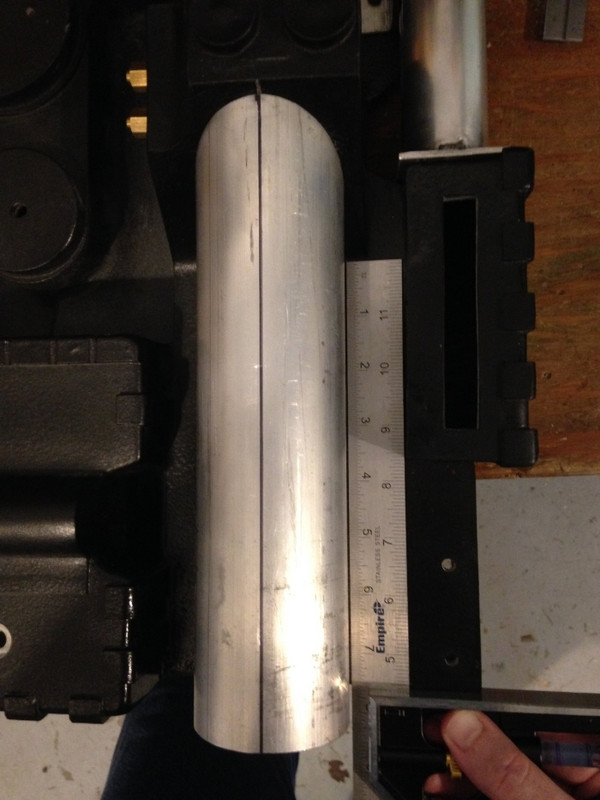
Next, I needed to mark the mount points on the Booster Tube through the shell. I've seen other builders use tape to hold the tube in place, but I just placed the shell hanging over the edge of my workbench with a counter weight placed on the cyclotron area. Then I could hold the tube in place securely with one hand, and use a Sharpie in the other hand to mark the location through the backside of the shell. While I was at it, I also double checked that things looked square...
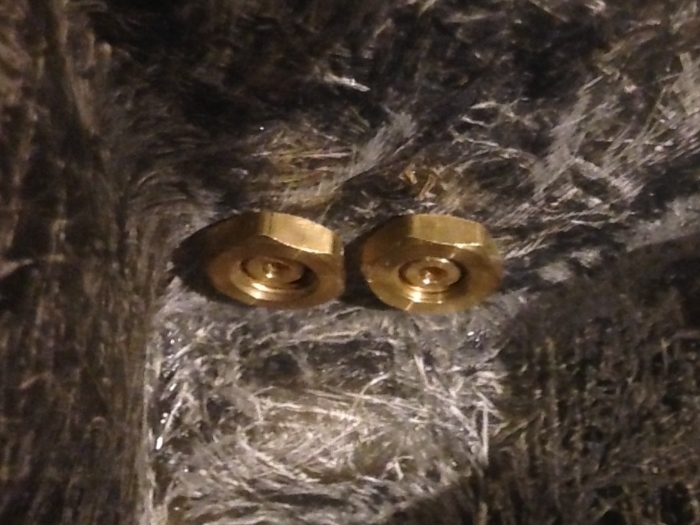
After marking the drill points on the Booster Tube, I used my drill press with a centering v-block to drill and tap the holes for a 1/4-20 bolt...
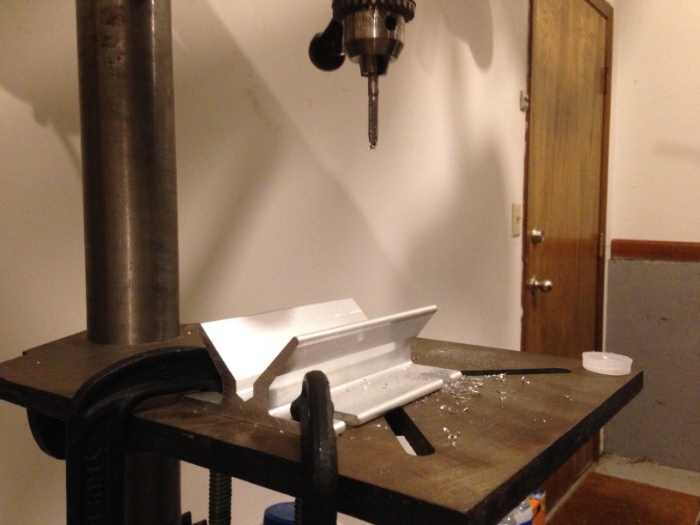
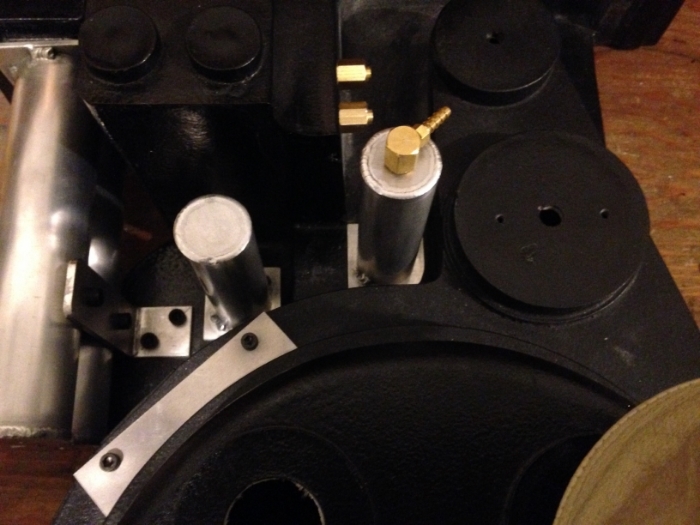
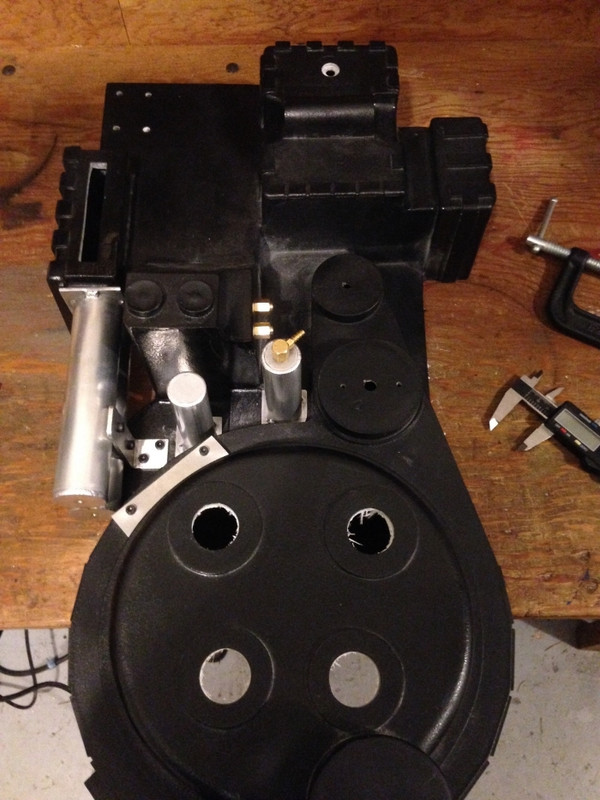
Success...
I was happy to find that it was firmly and securely attached. Now I need to install the Booster Frame. It's seems the best way to place it would be to set the PPD in place and just adjust it and the Booster Frame until it looks like the reference photos/I'm happy with the look.
Thanks for readin'


 GB1 and GB 2 Uniform Build Thread:


 - By CelestialChoc
 - By Threadender