User avatar
By GohstTarp
#4836597
Happy 4th of July!

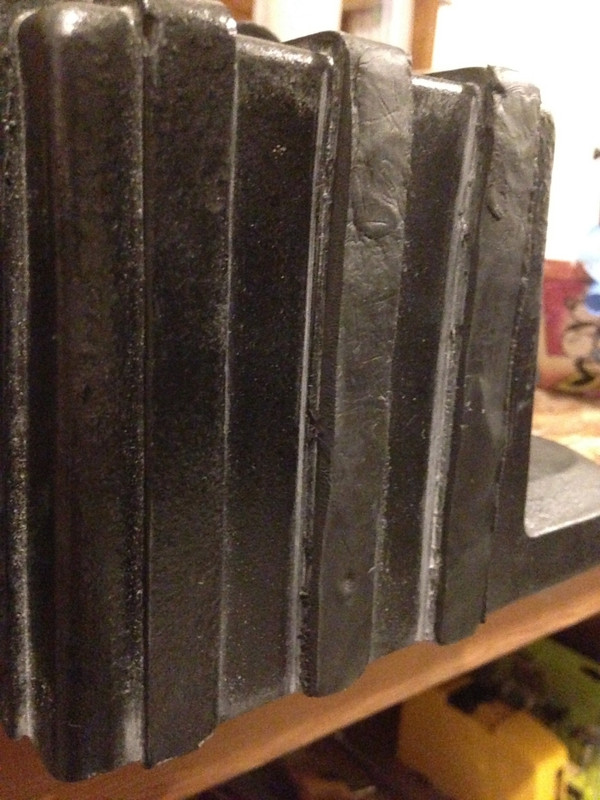
I was able to get a fews of parts attached this weekend...

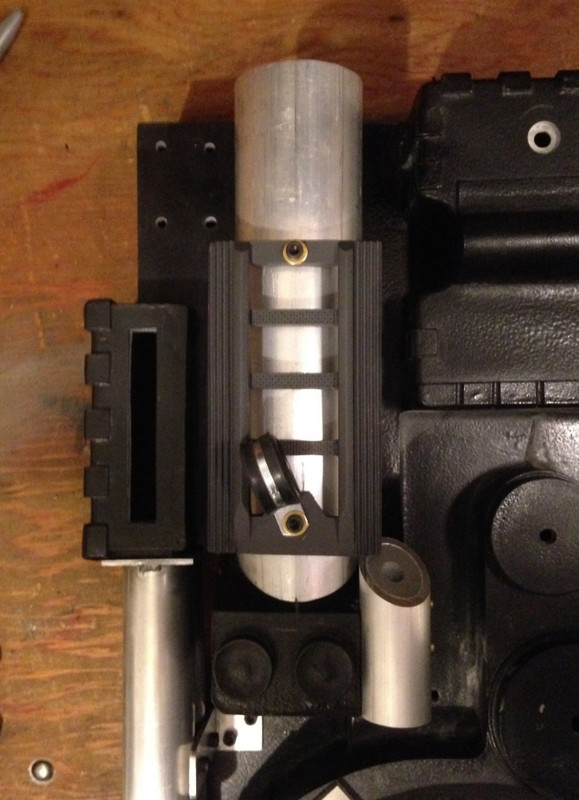
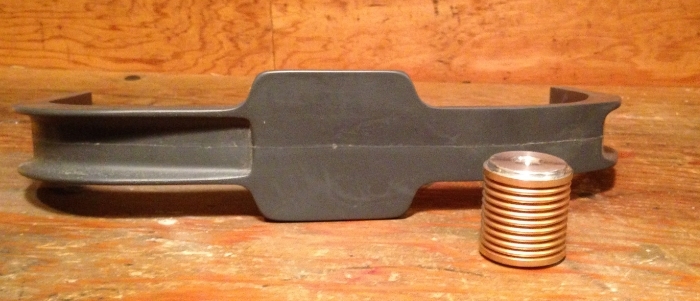
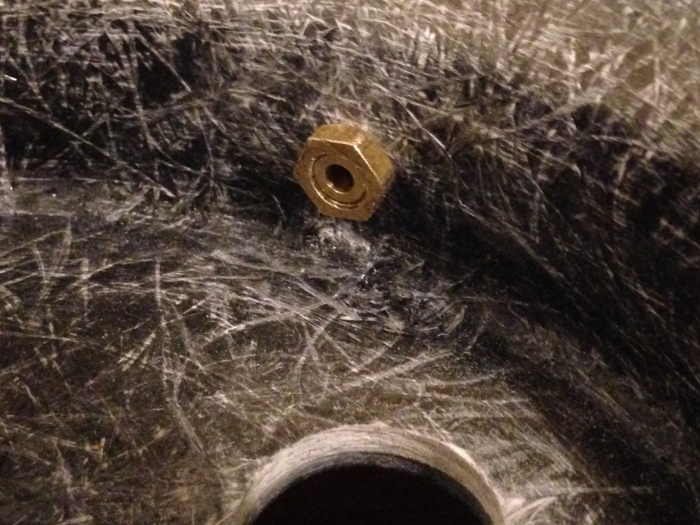
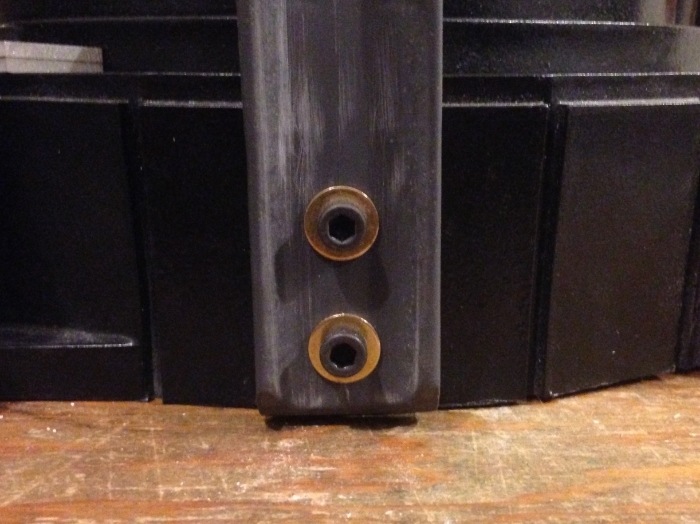
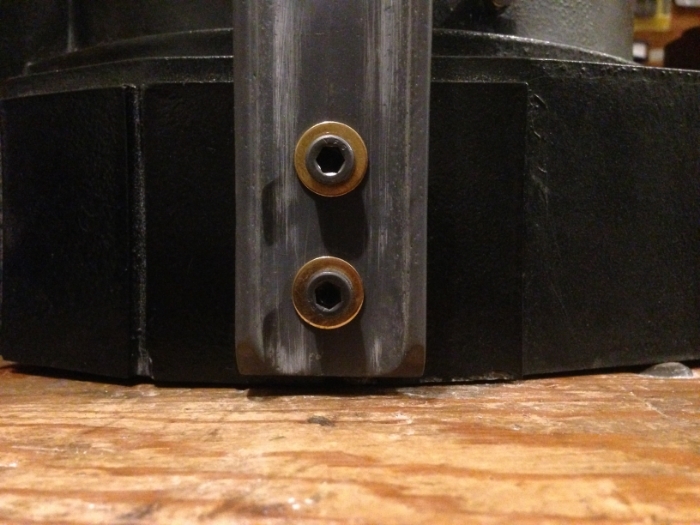
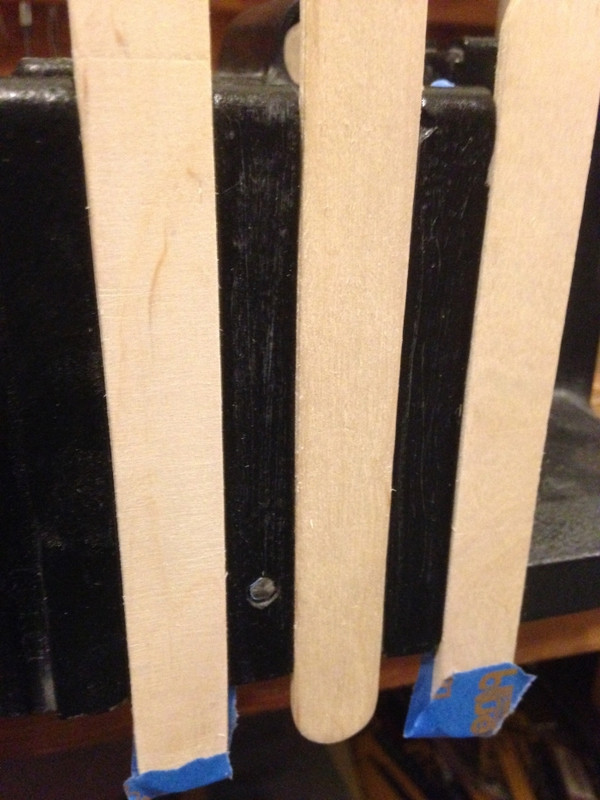
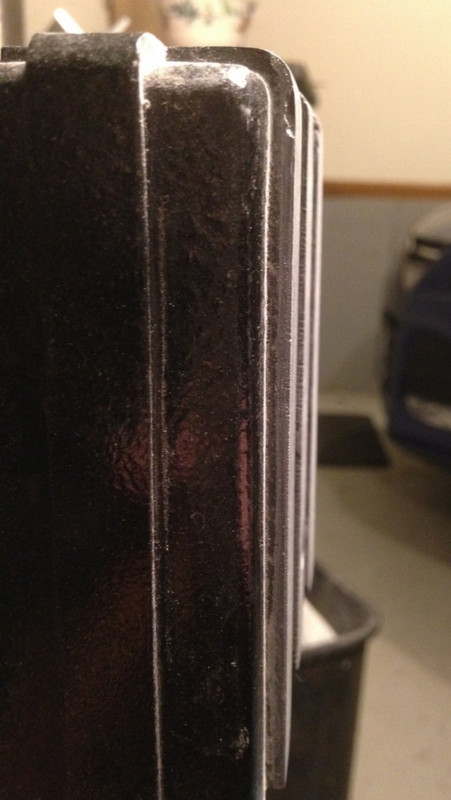
First up was one of Nick-A-Tron'sBooster Frames. It installed easily using 10-32 bolts, along with the proper 1" GB1 Ribbon Cable Clamp. I was only able to find #10S brass washers, but will replace them with the properly sized #10 a little later.

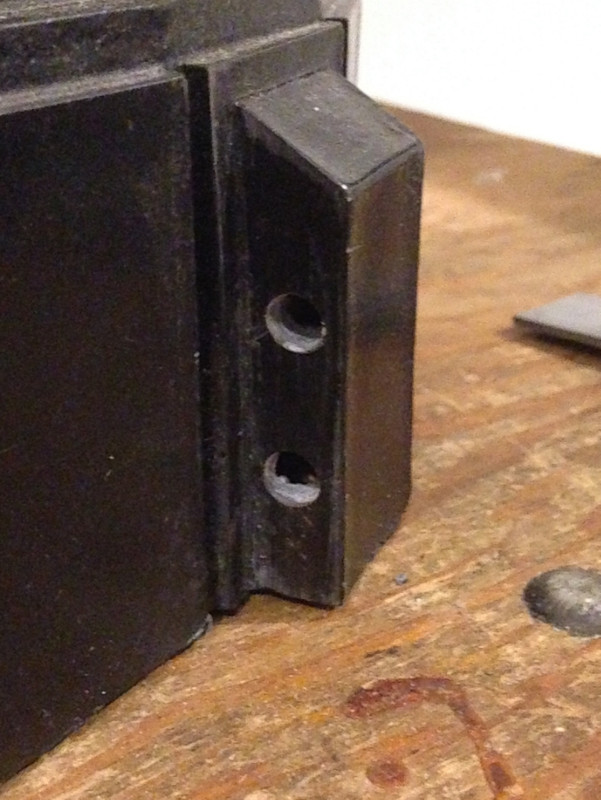
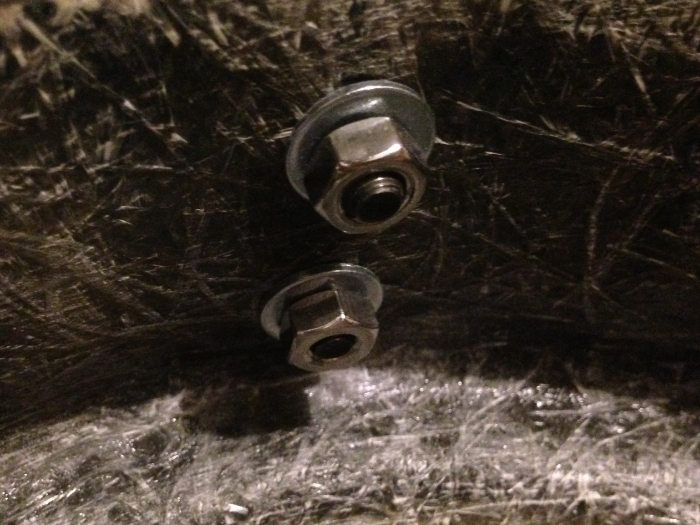
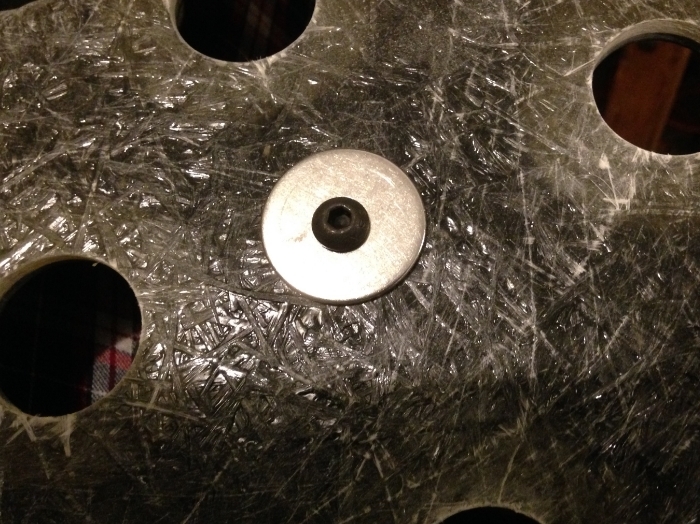
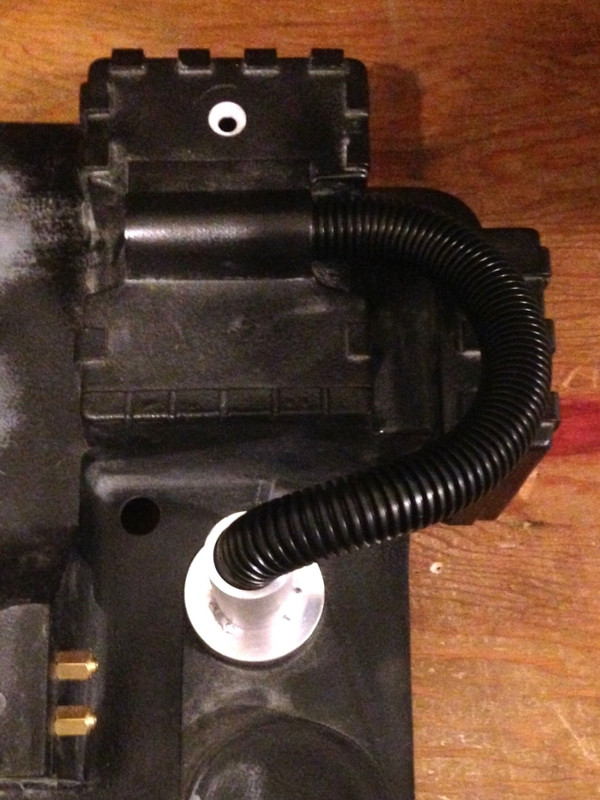
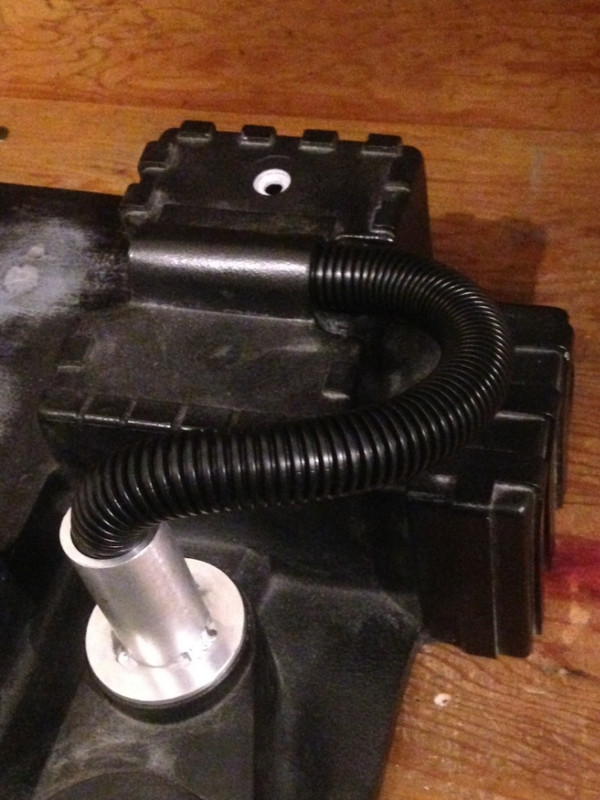
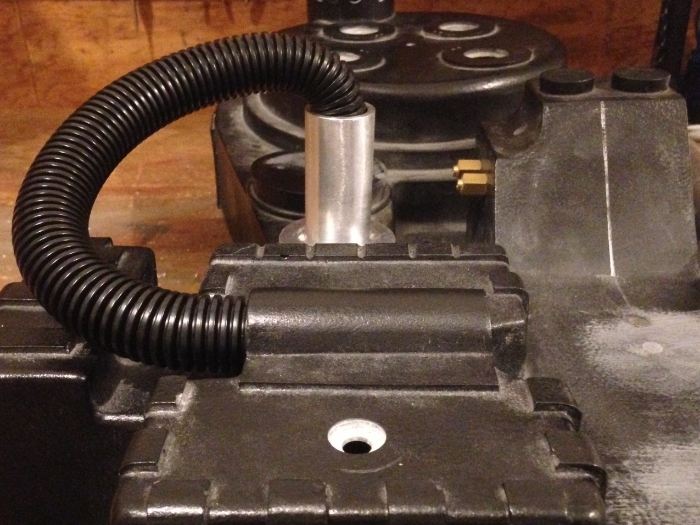
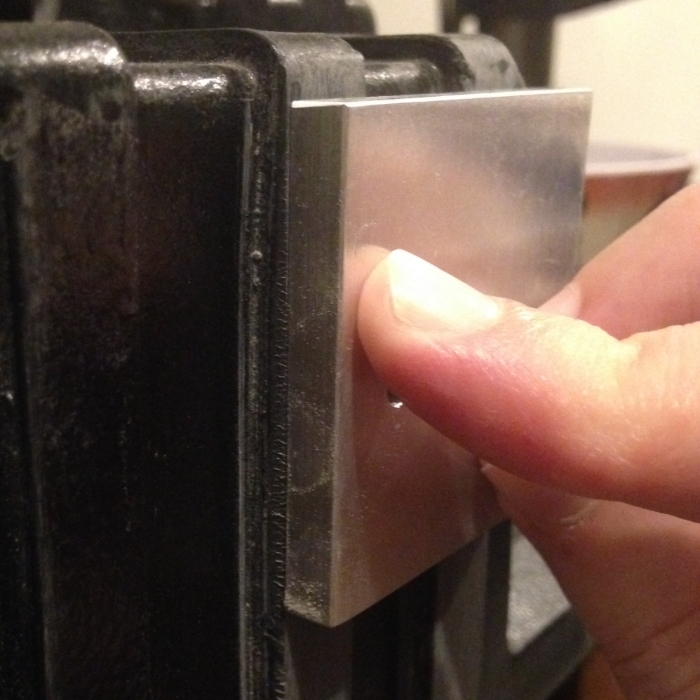
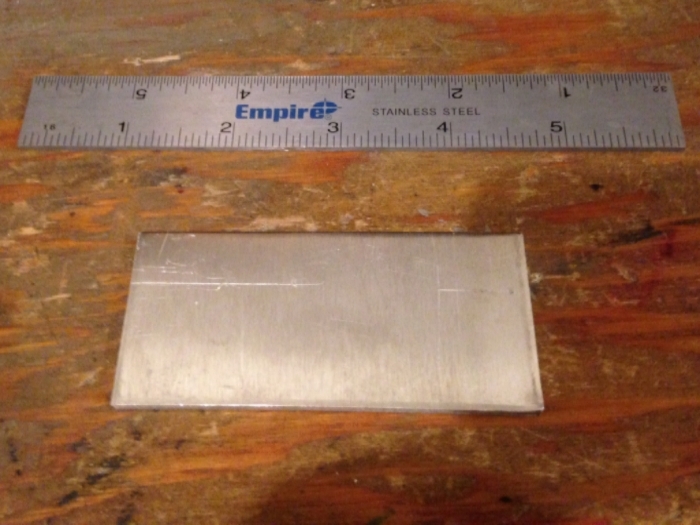
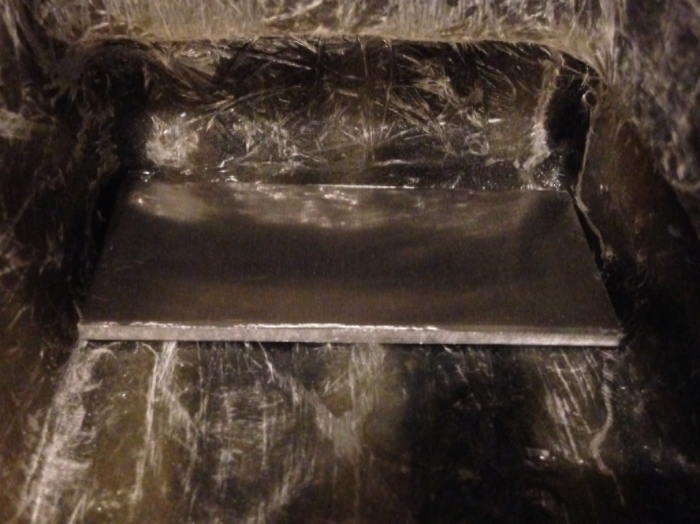
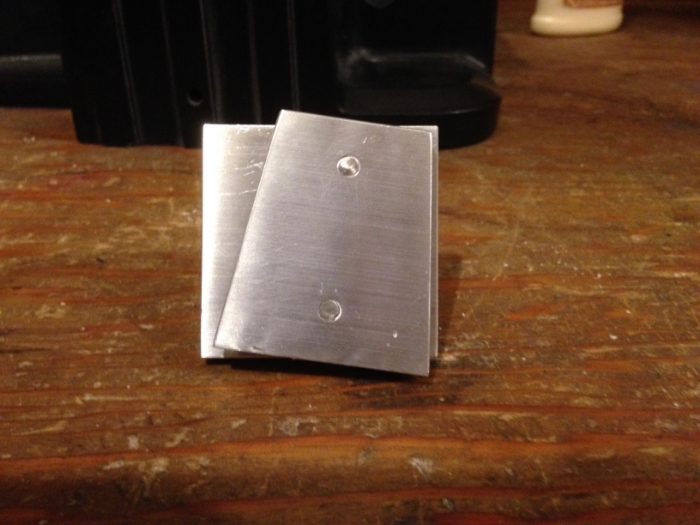
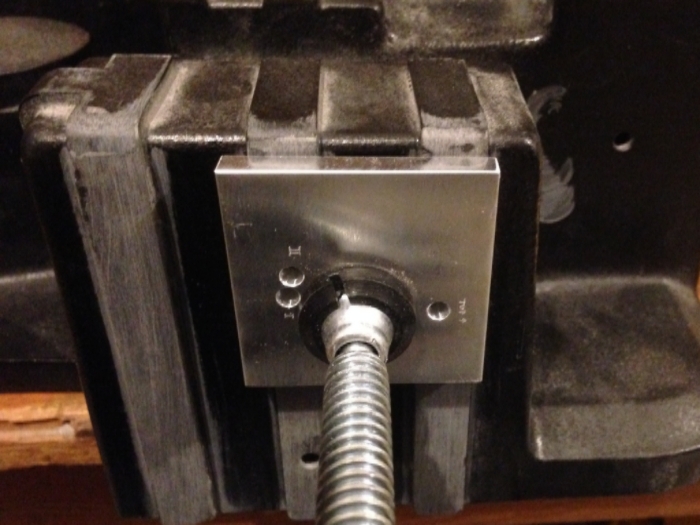
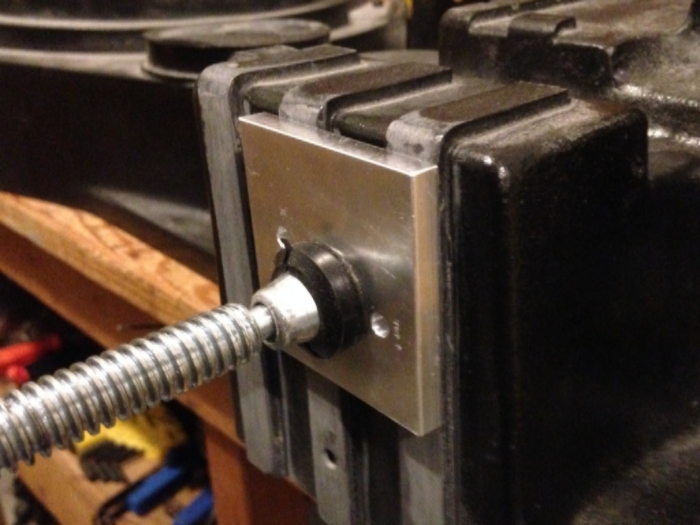
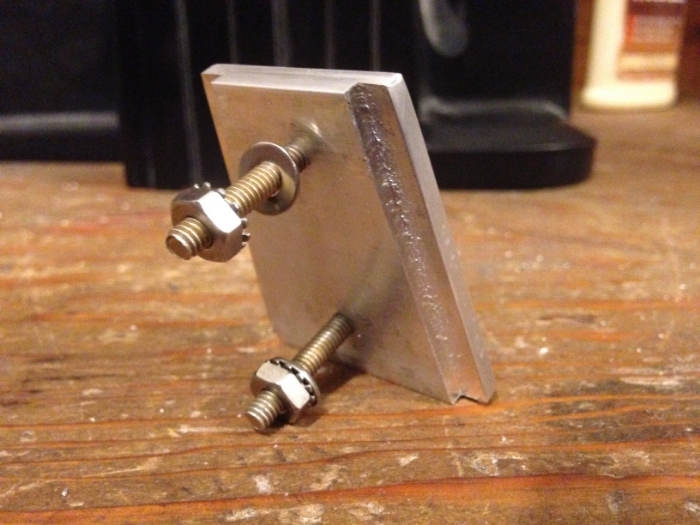
Next up was the PPD from Crix. I mounted it using only one of the two included 1/4-20 bolts, which worked out great...
Image

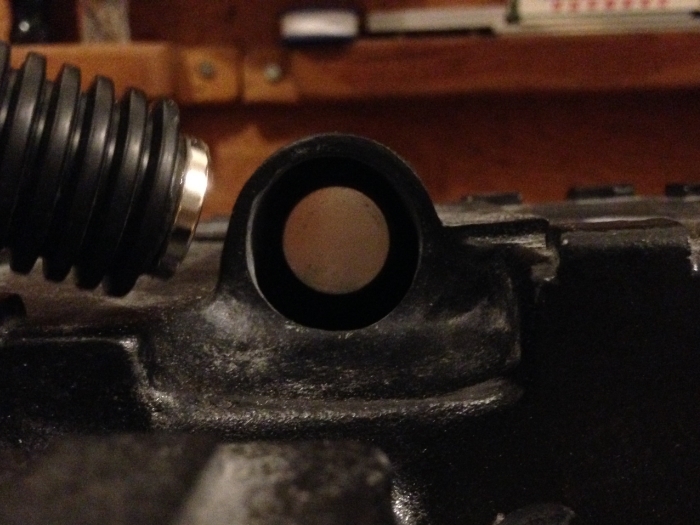
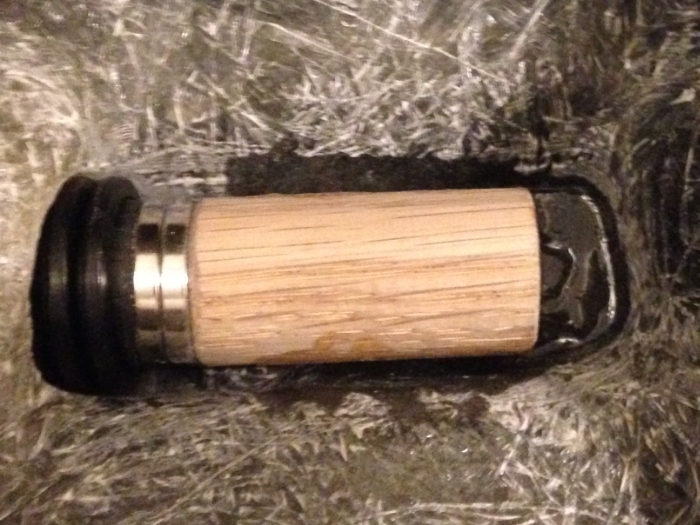
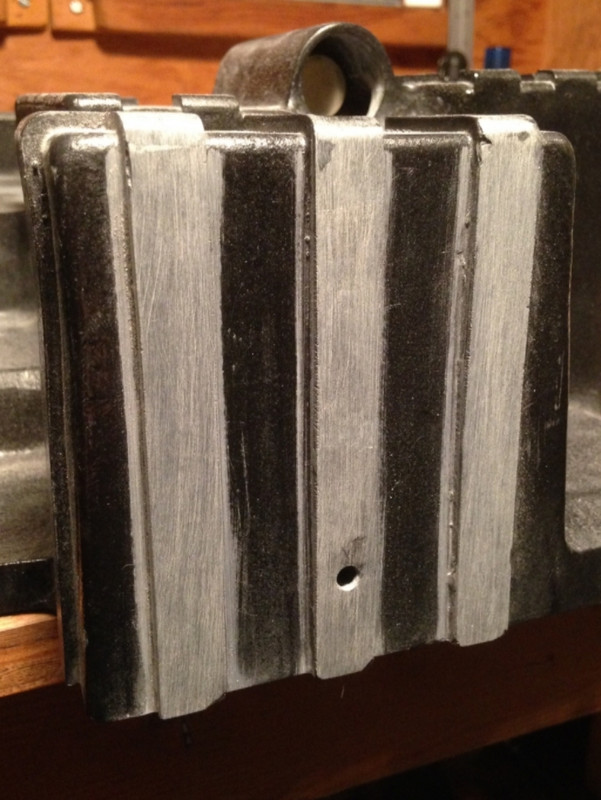
Next time, I plan to attach my Nick-A-Tron bumper and GBFans store bellows...
Image
Last edited by GohstTarp on April 16th, 2018, 8:48 pm, edited 2 times in total.
barison82 liked this
User avatar
By GohstTarp
#4836779
Would anyone be able to tell me the OD of their Booster Frame #10 brass washers and their Bumper 1/4" brass washers?

The OD of my Booster Frame #10 brass washers are .44", but I was thinking they are too small. Seems like .50 OD is available.

For the Bumper washers, I've found them with 0.562" or 0.688".

Just wondering what others have used. Thanks :)
User avatar
By GohstTarp
#4837696
After consulting Mike Decay in his Proton Pack build thread, I decided stick with the #10S brass washers on the Booster Frame, and will go with 1/4S for the Bumper.

While waiting for some hardware to arrive, I drilled out the ribbon cable hole using a bit extension and step bit...
Image

And also got the SMB elbow installed on the side of the Cyclotron...
Image

I didn't tap the hole, just drilled it and secured the part using using the same method bishopdonmiguel used to secure his Legris straights... cut off ends of a brass coupler that act as a nut...
Image

It worked a charm. The elbow is securely attached, yet removable :-D
Last edited by GohstTarp on April 16th, 2018, 8:48 pm, edited 2 times in total.
User avatar
By julz
#4838354
Nice work Trap

Your build looks nice and clean. Great job :cool:
GohstTarp liked this
User avatar
By GohstTarp
#4838778
Time to get that Bumper installed!

As I mentioned above, my Bumper is by Nick-a-Tron and the Bellows is from the GBFans Shop. Both are nice parts and look great installed...
Image

Image

Mounted using 1" 1/4-20 cap head bolts and #14S brass washers...
Image

Image

I liked how Mike Decaythreaded his Bumper for the center bolt, so I did the same. Will need to add a 3/4" steel spacer.

Here is a view from the inside showing how the Bumper mounts to the sides of shell using 1/4-20 nuts and 1/4 washers...
Image

Image

Another inside shot showing the 2" button head 1/4-20 bolt with 1.25" OD 1/4 washer going through the center of the Cyclotron, Bumper and Bellows...
Image

That's it for now. Noticed I'm starting to run out of parts to mount to the shell... LOL Next, I'd like to get the Vacuum Line Loom squared away, or maybe the Thrower Mount.
Last edited by GohstTarp on April 16th, 2018, 8:49 pm, edited 2 times in total.
User avatar
By Grimmy GB
#4838804
I'm serious when I say this: You're updates are like candy! We're actually working on my wife's build right now and just mounted the bumper Saturday night as well. It's so cool to see you progress through this with such epic cleanliness...
GohstTarp liked this
User avatar
By GohstTarp
#4838898
Grimmy GB wrote:I'm serious when I say this: You're updates are like candy!
Thank you, Grimmy. That's very kind :blush: Many people here, including yourself, have set a very high standard and are a great inspiration.
Grimmy GB wrote:We're actually working on my wife's build right now and just mounted the bumper Saturday night as well.
The second time around must be a little more relaxed when you have been through the process already. After all the measuring and cutting/drilling, I always get nervous and shaky at "The Moment of Truth" when I attach a part to the shell for the first time.
Grimmy GB liked this
User avatar
By GohstTarp
#4841996
Time for more updates! Been busy working on my pack when I can find the time. Here is what I've done...

Installed a 3/4" steel spacer between the Bumper and Cyclotron. I needed to file it down slightly to get a perfect fit...
Image

Drilled the Cyclotron Ring dimples...
Image

Implemented bishopdonmiguel's excellent MagSafe Vacuum Line Gearbox Connector system...
Image

Image

Image

Image

Image

Image

Image

It worked out really well and it's great to be able to bend the loom and have the it stay in place. Thanks for the great idea, Bish!

Next up will be mounting the V-hook.
Last edited by GohstTarp on April 16th, 2018, 8:50 pm, edited 2 times in total.
User avatar
By GohstTarp
#4842351
Just finished some prep work for attaching my vhook. My GBfans shell has a slight dip where the vhook is mounted...

Image

It's no big deal and Bishopdonmiguel offers an easy solution in his build thread using jumbo craft sticks and black Milliput.

At the moment, I'm just interested in working with the fins under the vhook, so I created my craft stick "molds" by gluing together three sets of two sticks...
Image

It only took a little bit of sanding to get the perfect depth and width...
Image

After mashing in some milliput on the two fins, I let it set about 30 minutes and then used an Xacto knife dipped in water to cut out the mold sticks...
Image

Bishop leveled everything out before removing his sticks, but I found it easier to just remove the sticks. After letting it cure overnight, I placed the mold sticks back in to act as a guide, and sanded both down level...
Image

Now my Vhook mount plate has a flush and solid fit...
Image

Hopefully, the cured milliput will take a drill well when I go to mount the plate. I should note this solution was a lot easier than I thought it would be, so if you are thing about doing this, go for it! I might even level-out the other fins if I have the time.

Next... attaching the vhook!
Last edited by GohstTarp on April 16th, 2018, 8:51 pm, edited 2 times in total.
alphabeta001, Petzrick liked this
User avatar
By bishopdonmiguel
#4842384
MAGNETS!!! Your pack is now powered by magic. Awesome sauce.

Great job on building up those fins!
GohstTarp liked this
User avatar
By GohstTarp
#4842398
bishopdonmiguel wrote:MAGNETS!!! Your pack is now powered by magic. Awesome sauce.
Magnets in the Uniform and now magnets in the Pack. I'm all about the...

Image

But with those two 3/4" magnets slamming together, it's more of a BAM!
bishopdonmiguel wrote:Great job on building up those fins!
Thanks, Bish. Your post made it easy... thanks for sharing your great ideas!
Last edited by GohstTarp on April 16th, 2018, 8:52 pm, edited 2 times in total.
bishopdonmiguel liked this
User avatar
By GohstTarp
#4842909
After looking at those two built up fins for a few days, I couldn't help myself from building up that third one...

Image

This shot shows off the results fairly well...
Image

I really like the look, so I started making the craft stick "molds" for the top fins, too!
Last edited by GohstTarp on April 16th, 2018, 8:53 pm, edited 3 times in total.
User avatar
By bishopdonmiguel
#4842911
Looks great!
GohstTarp liked this
User avatar
By GohstTarp
#4842914
Got some updates on the vhook mount. I had onlinemetals make a custom aluminum piece (3.25" x 1.5" x 0.125") to use as back-plate for my CPU64 vhook mount...

Image

Here it is placed in the shell...

Image

And said CPU64 vhook...

Image

My plan is to attach the outside plate here...

Image

Image

...and see how everything bolts together with the backplate in place. If everything seems good, I'm going to carefully epoxy the back-plate in place, as I have seen julz and others do.

I also wanted to note that I will try using only the two built-in vhook bolts to mount everything...

Image

I always have the option of adding more bolts if I start getting a wobbly setup, but we shall see!

Till next time...
Last edited by GohstTarp on April 16th, 2018, 8:54 pm, edited 3 times in total.
User avatar
By bishopdonmiguel
#4842916
GohstTarp wrote:
bishopdonmiguel wrote:Looks great!
Thanks, Bishop! How's that aluminum thrower build coming along?
Arrgh. Haven't done a thing and I'm not proud of it. Just have too many things grabbing my attention. Hope to get started on it this Fall.
  • 1
  • 4
  • 5
  • 6
  • 7
  • 8
  • 18
GBFANS Ghostlabs light kit

When you say you only have the proton pack light k[…]

I'm not familiar with this one (is it a model?) […]

Also somewhat related question...I don't see giz[…]

Ghostbusters Day 2024

Even if Frozen Empire somehow made a billion dol[…]